Hi! I am Avijeet Maurya, one of the GSoC 2022 contributors working on ScummVM. The main focus of my GSoC project was on improving the condition of several existing game engines through bug fixes and implementing some other improvements.
What was done
GLK Scott
Implemented support for C64 and TI99/4A games by porting the GLK Scott interpreter from spatterlight.
Blog Posts:
Week 2 – Some progress and cleanup
Week 3 – Community Bonding period ends
Week 4 – Start of the coding period
Pull requests: #1, #2, #3, #4
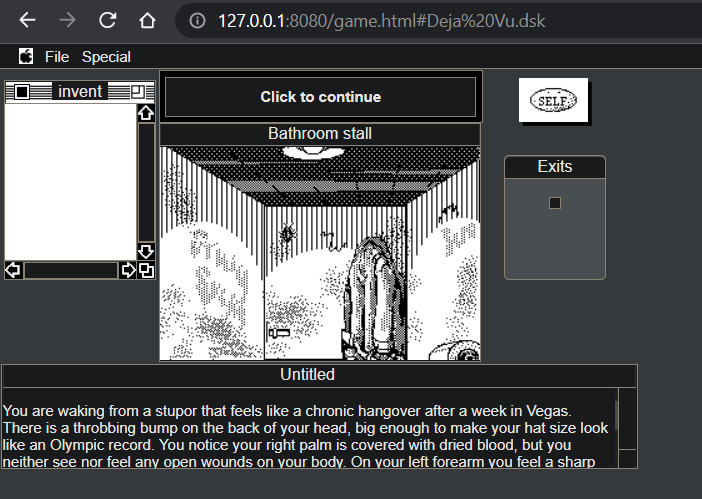
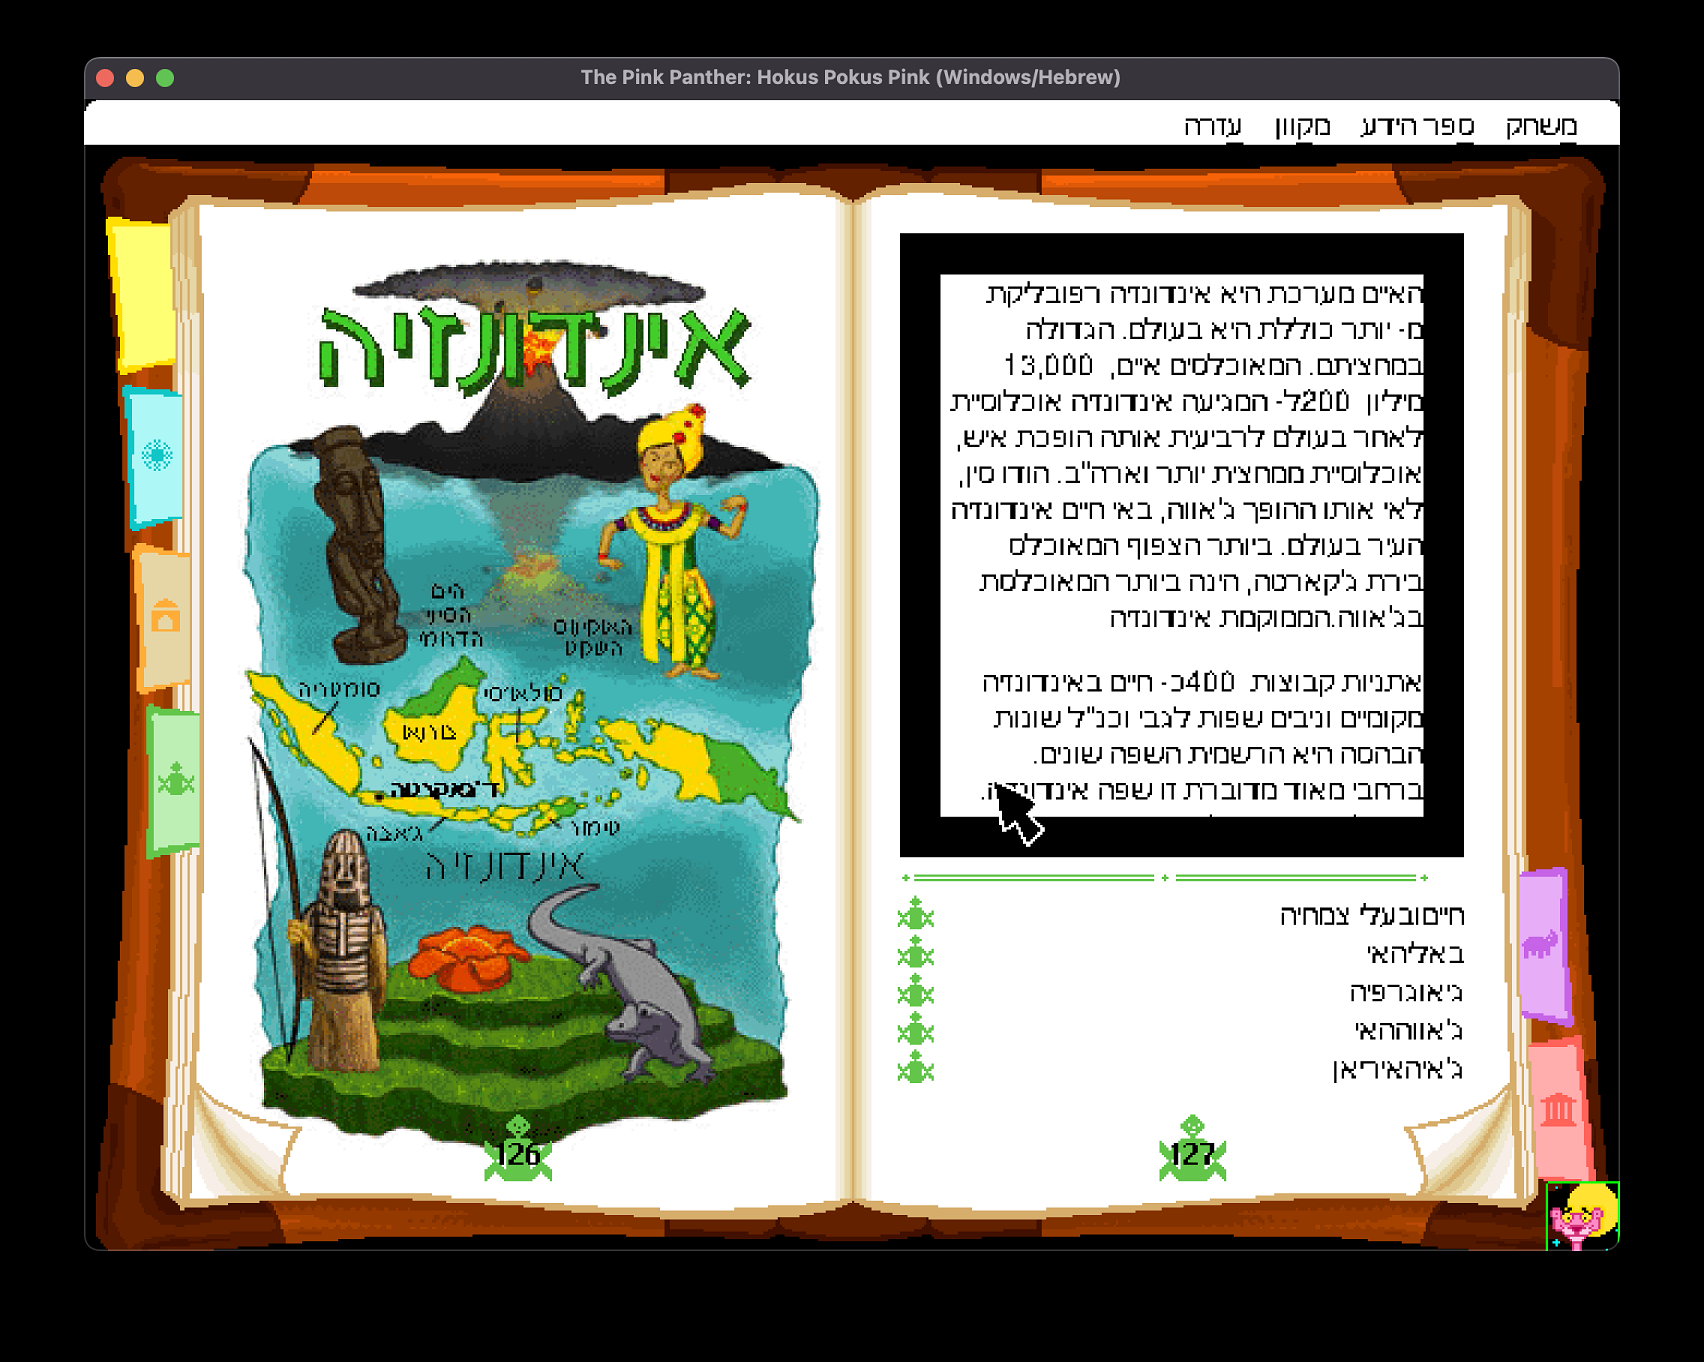
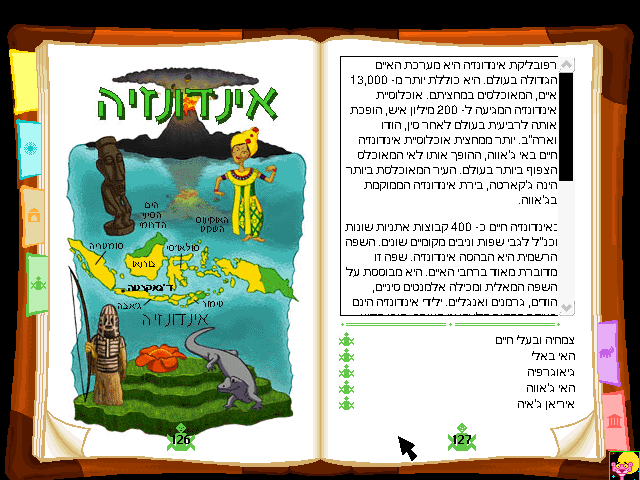
PINK
Various bug fixes related to the in-game PDA and updating the code to work with the newer MacGUI implementation. Also fixed bugs related to Hebrew support.
Blog Posts:
Week 11 – Finishing WAGE and PINK
Pull requests: #1, #2, #3, #4, #5, #6, #7, #8
WAGE
Various bug fixes and MacGUI related improvements.
Blog Posts:
Week 11 – Finishing WAGE and PINK
Pull Requests: #1
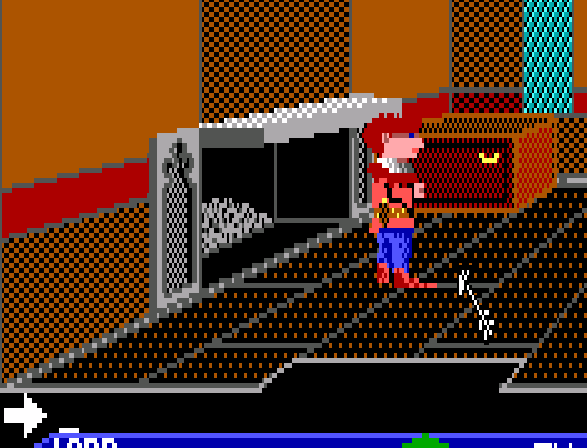
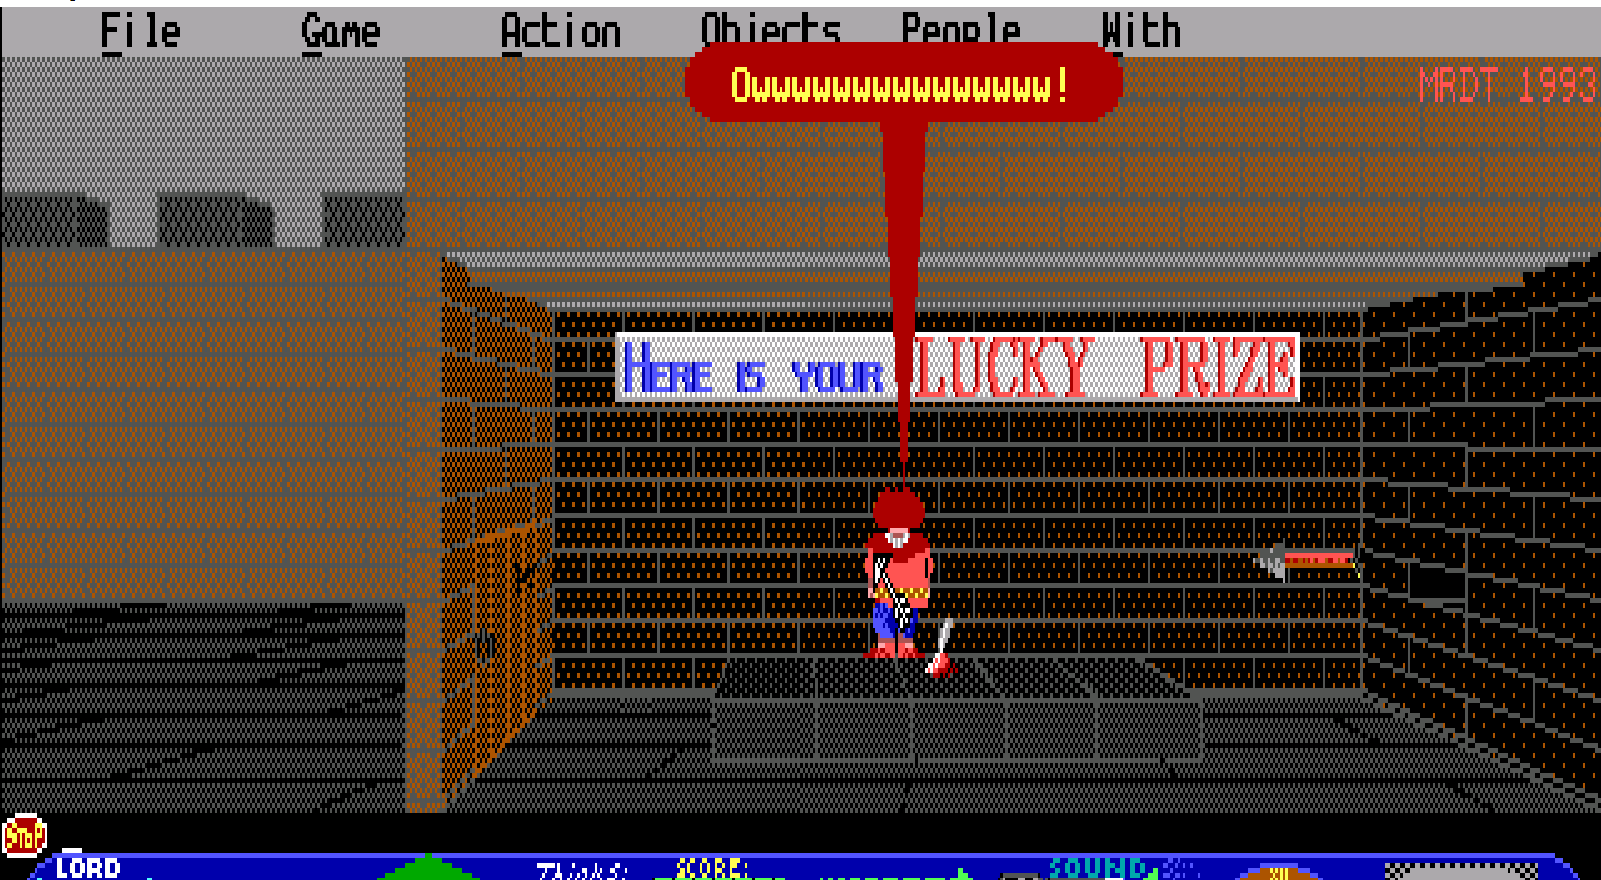
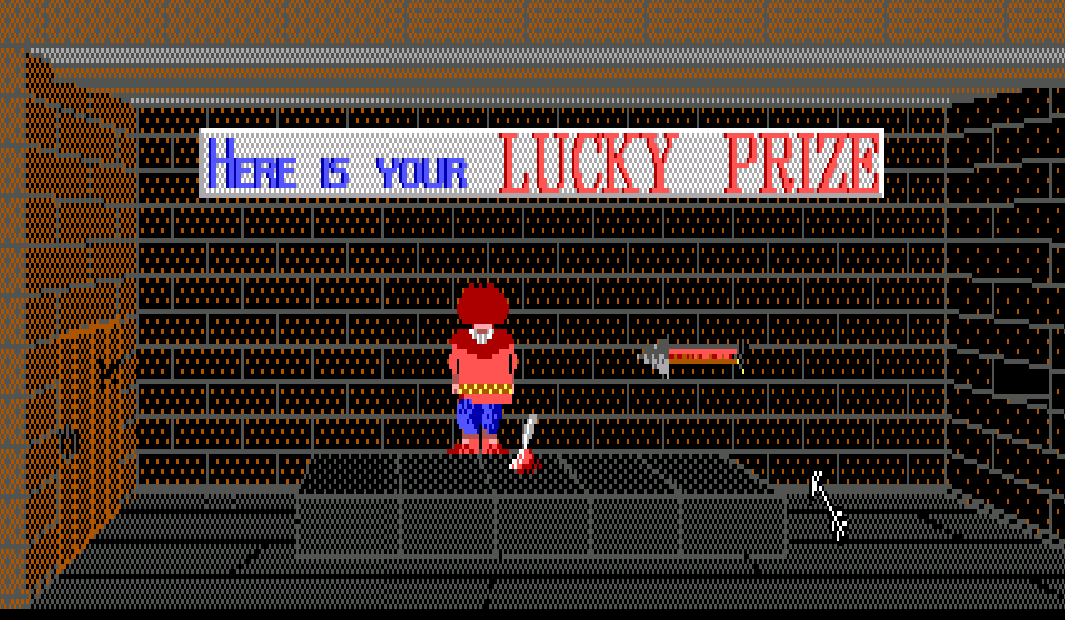
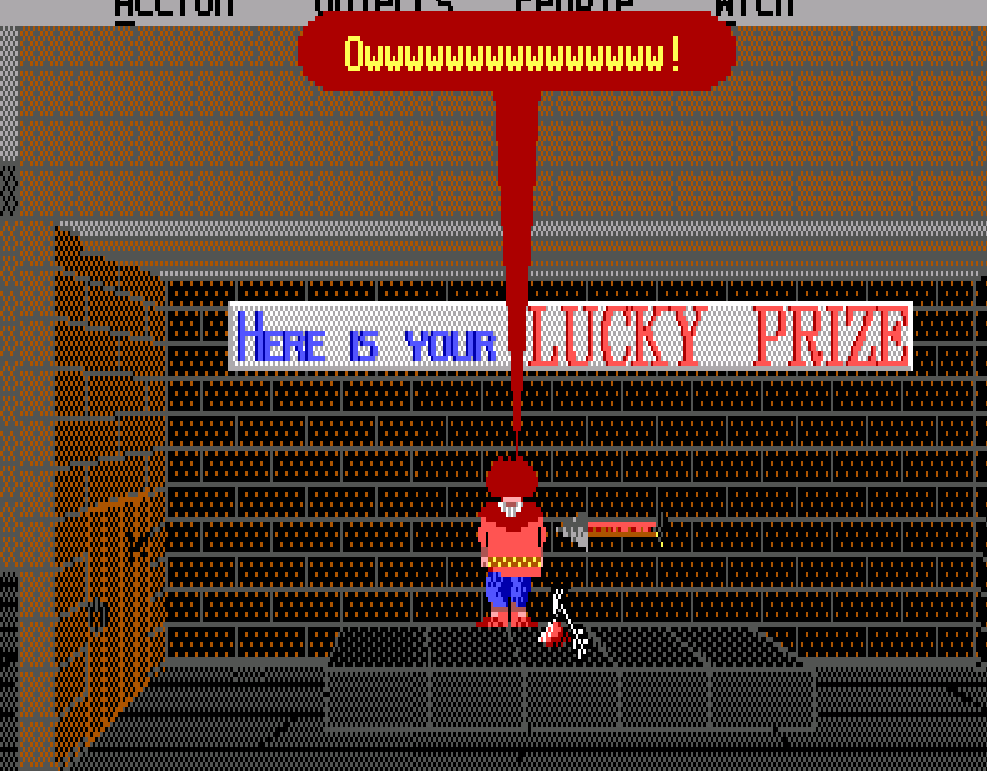
MacVenture
Various bug fixes related to GUI.
Blog Posts:
Week 12 – Working on MacVenture
Week 13 – Working on MacVenture II
Week 14 – Working on MacVenture III
Pull requests: #1
Avalanche
Fixed two gameplay bugs.
Blog Posts:
Week 15 Part II – Working on Avalanche
Pull requests: #1
What is Left
The leftover work is distributed between MacVenture and Avalanche. For MacVenture I still need to:
- Implement lasso selection
- Add IIGS support
For Avalanche I need to work on the TODOs listed on the wiki page.
Closing Thoughts
GSoC wasn’t something I could have completed on my own so I would like to start by thanking the ScummVM team for being so helpful at all stages of the program. Special thanks to sev, eientei, Jaderlund and Voltya for helping out with different parts of the project.
Getting started with contributing to other open source projects was always a daunting prospect because of how difficult it was to actually understand the huge codebase of various projects but this time I managed to overcome that through a combination of just going at the problem at hand and also asking for help when needed.
A really important thing I discovered through GSoC was to have a positive mindset while coding. I never really felt nervous, even when I was stuck on something because I knew I had people to rely on and ask questions to. This helped me progress through in a much more relaxed manner which is something I don’t think I could have done before.
And speaking of asking questions, it was something I always hesitated to do because I felt like it was a stupid thing to do but now I know that it’s better to admit that you don’t understand something rather than pretend that you do and cause problems later.
Another thing I have learned through GSoC is getting into the habit of working daily. I used to be very irregular in when I work and I am happy to have changed that.
I also liked writing the weekly blogs and from now on I’ll try to write about what I work on, even if it’s just some personal notes. You need to really understand what you are working on to write about it and I often had some new insights about the problems I was facing when I tried to describe them in my blog.
And in the end I want to thank all the people who followed me through this journey and read the blog posts. I really enjoyed writing them and it’s great knowing that there were people who interested in reading what I had to say!
Thanks for reading!