Hello!
This is a bit of a special post because I finally have stuff to show that actually has a visual component!

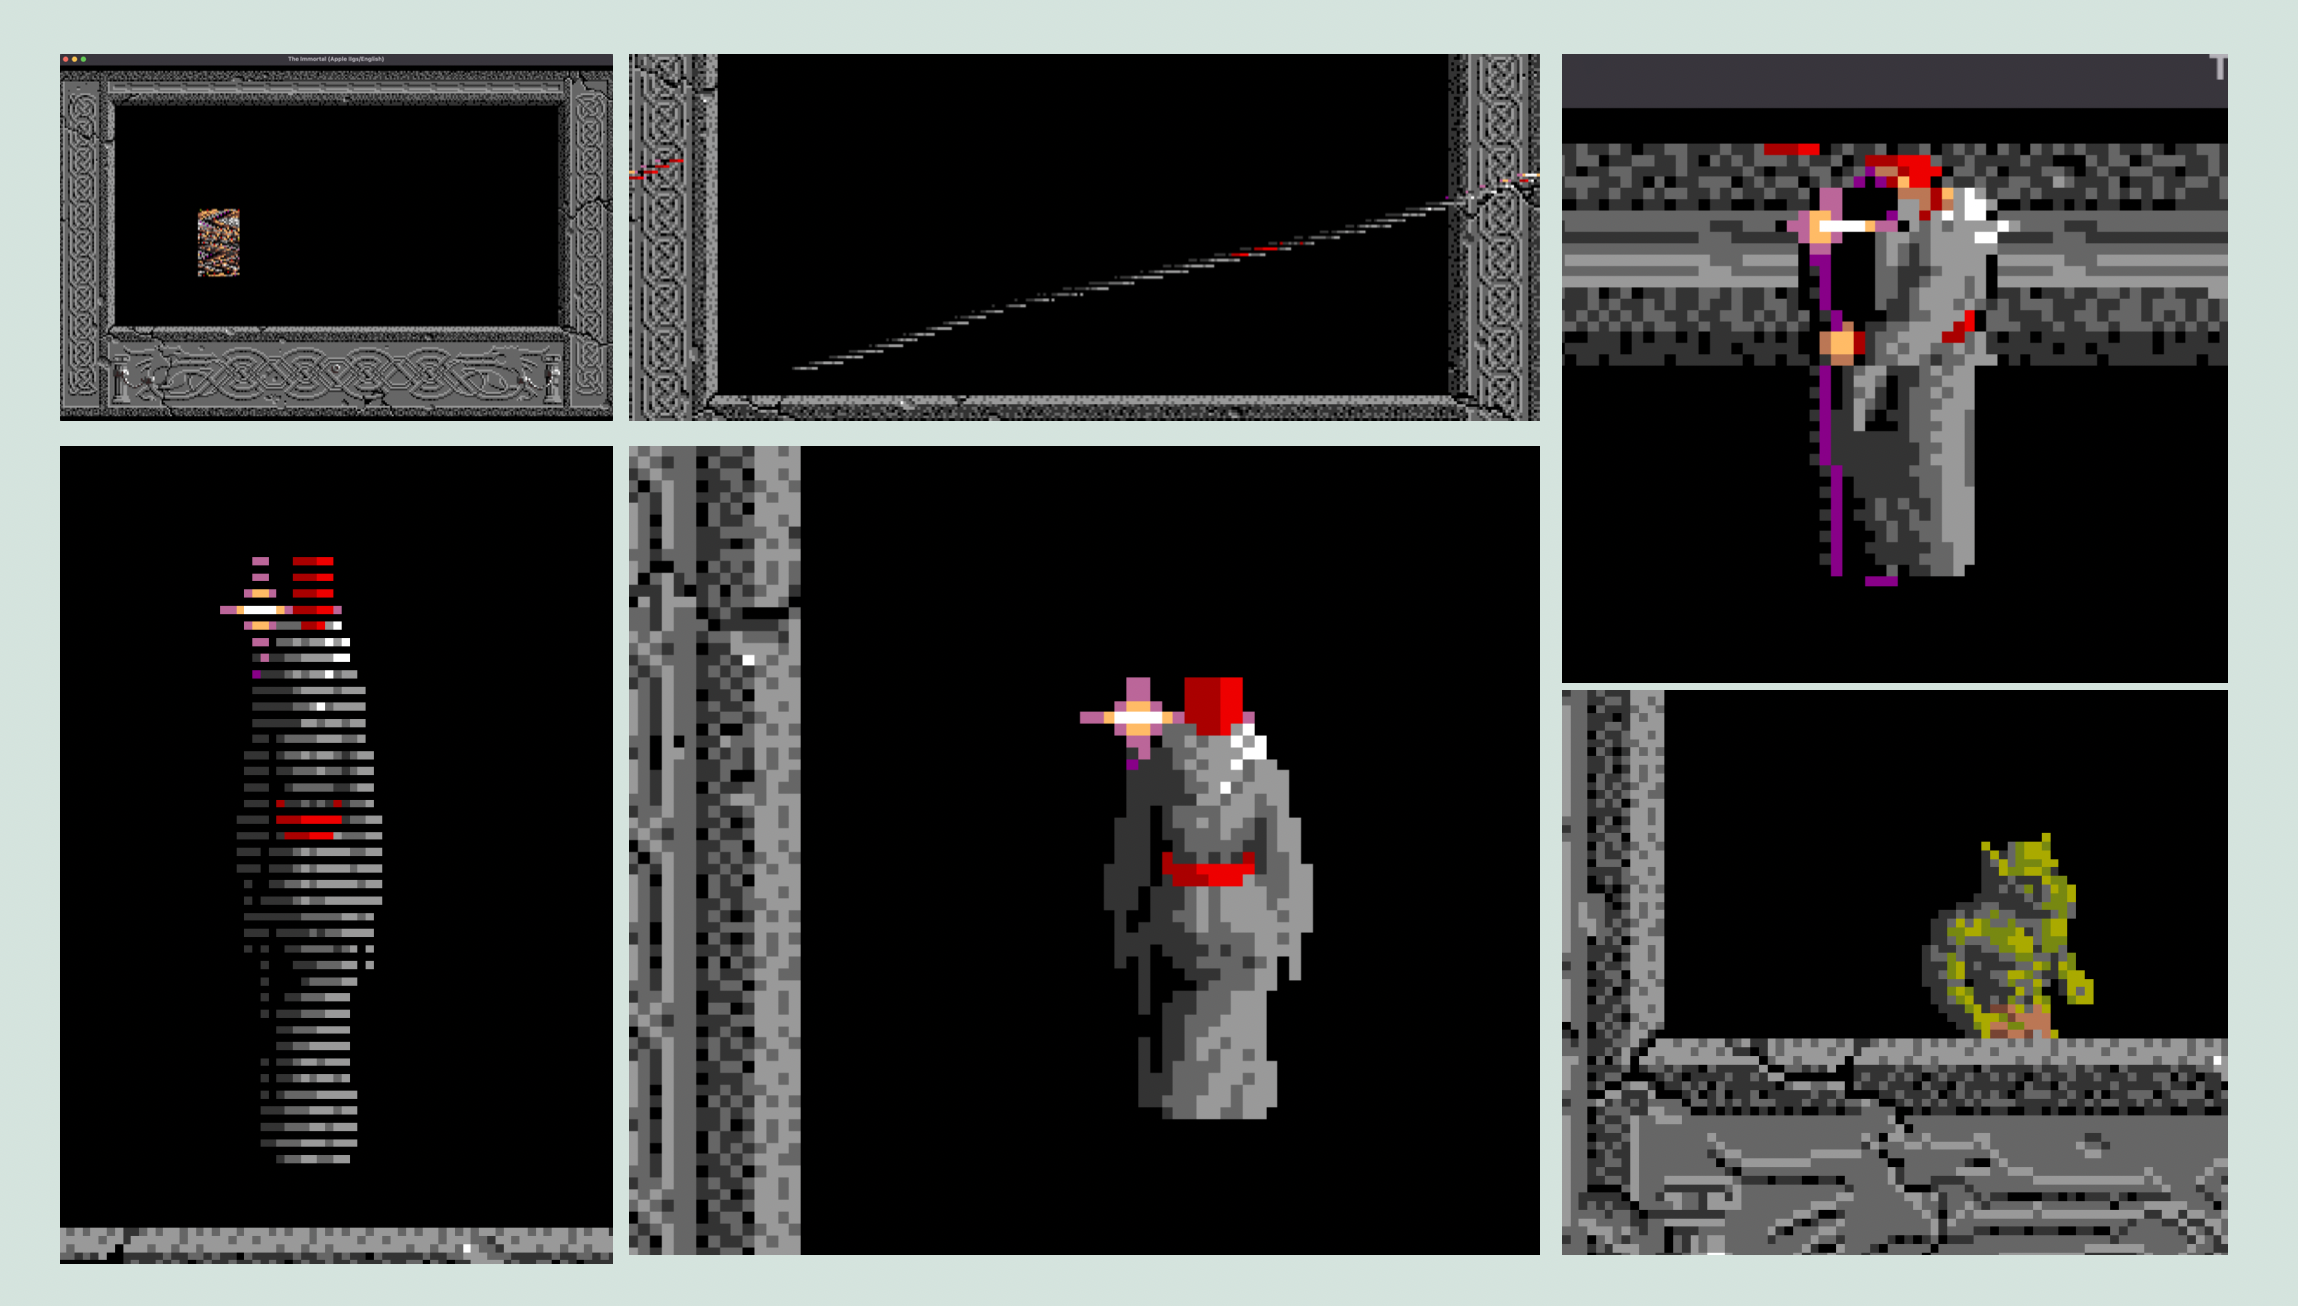
Getting to this point took quite a few steps, as you can see below. But there are many interesting things to take away from it which I will get into later in this post.

For now however, I’ll start by mentioning what has been done and where things are at currently.
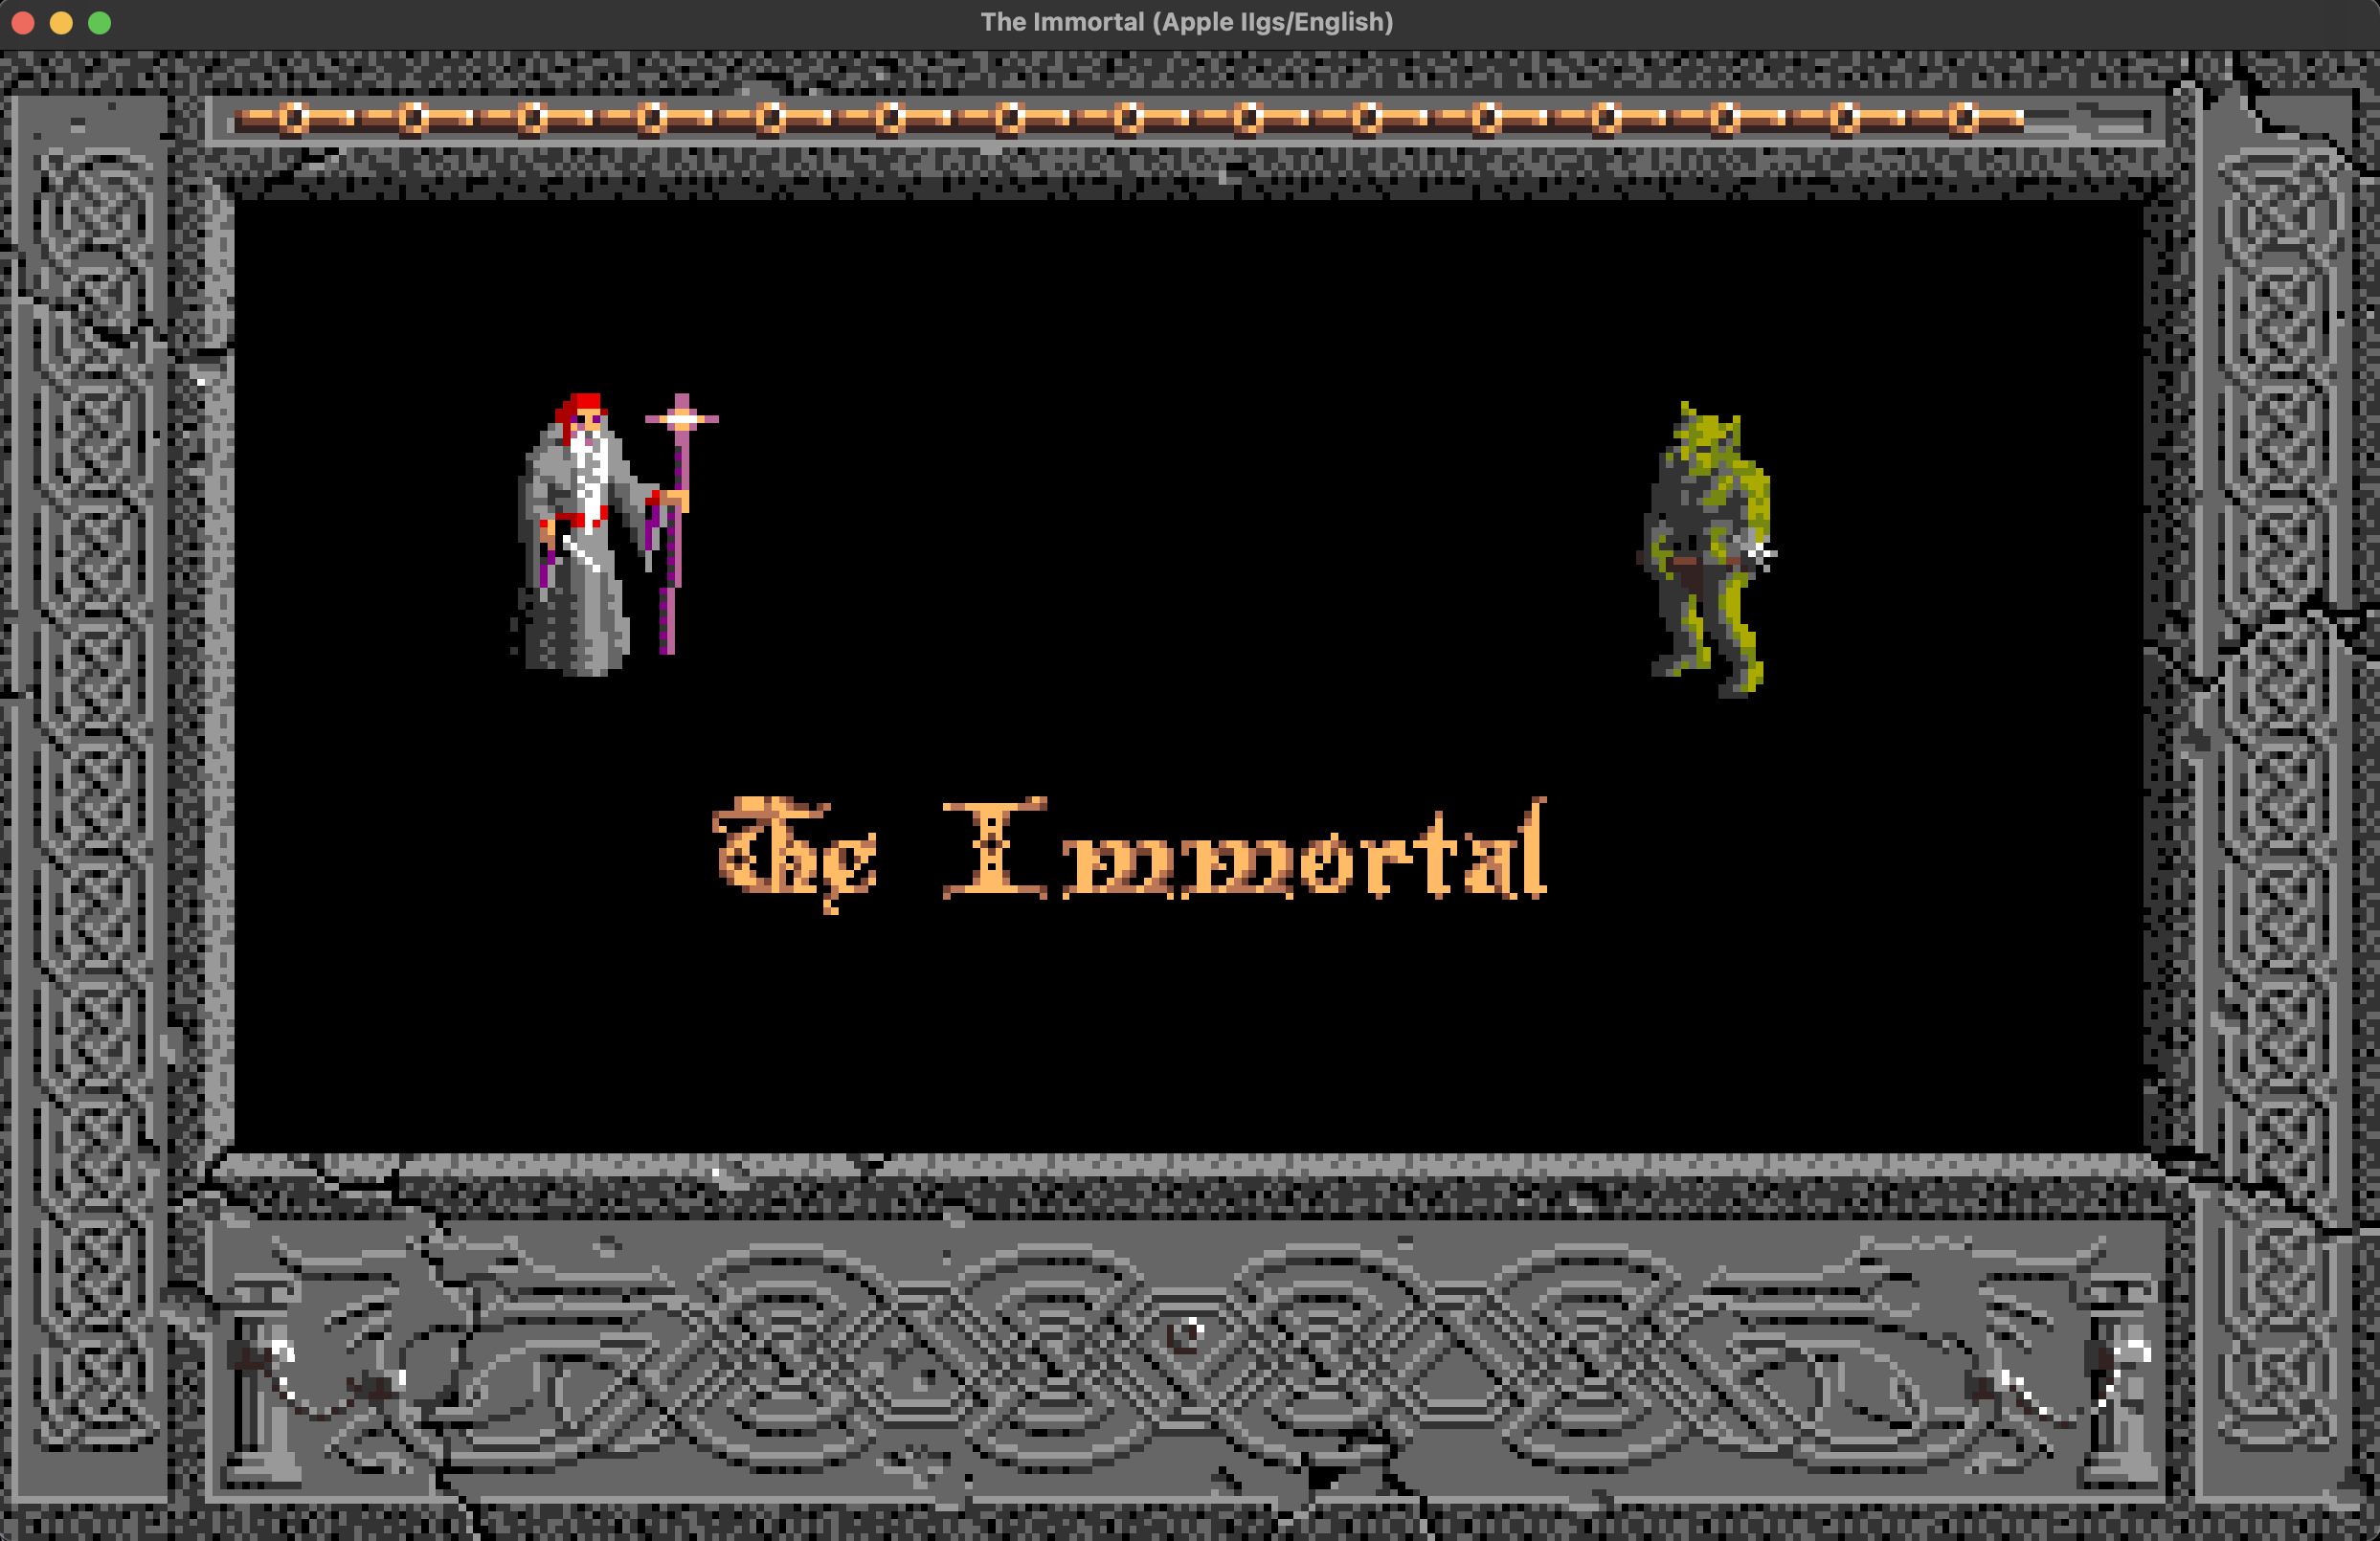
Sprite drawing is complicated (if the past several posts had not given this impression already). Sprite drawing, the way the source does it, is very complicated. More important however, is that sprite drawing is also different on the Apple IIGS compared to ScummVM. The result is that already complicated things get tied up in other factors, and make it hard to parse any of it at all. I’ll get into detail about it momentarily, but suffice it to say that my implementation is as close as I think I can get to the same logic for the moment. It’s not exactly the same methodology, but the exact methodology is based on certain things that aren’t relevant for the port. This is all to say that sprite drawing in general is implemented. You can call superSprites() with a sprite and a frame for the sprite, and it will draw that sprite on the screen. This doesn’t just mean finding the pixel data and making it fit a generic new function though, this implementation goes through the same steps the source does, which means it also clips the sprites correctly, and utilizes the BMW and not a hardcoded screen width, etc. It even includes the check for whether the Y position has changed, which was an optimization designed to avoid excess multiplication when drawing things like letters, since they will generally be the same Y position for several in a row. Making it work required implementing superSprites(), clipSprite(), and spriteAligned(). And sorting out the methodology was quite a process. As well, now that superSprites() was working, I was able to uncomment the call inside printChr() and to my genuine delight, the function worked and printed letters just like it is supposed to. This is a big deal because that was one of the functions that could only really be tested with a visual component, and until getting sprite drawing working, there was no easy way to tell if it was working correctly, so I assumed there would be small bugs to fix right away. Along the same lines, the hit gauge (this game’s heads up display essentially), also worked right away. These were a huge relief, as it means at least a couple of the building blocks I’ve been working on are in fact working.
Font rendering
Hit gauge rendering:

Now for the nitty gritty part. What even is the pipeline for rendering in this game anyway? We’ve already established a few things, so I’ll start there:
Bitmap -> Frame -> DataSprite -> Cycle -> Sprite -> Priority Sorting -> Munge -> Screen
The last three are not relevant to this discussion, and Bitmap as I mentioned in a previous post, is more complicated, so I’ll adjust for those:
Scanline Bitmap -> Scanline offset -> Frame -> DataSprite -> Cycle -> Sprite
However, it gets more detailed than that. Not only is the data structure for the bitmap actually a set of smaller data structures, but the way those pixels are applied to the screen is itself a multi-step procedure. This is due largely to transparency, and the difference between console and Apple IIGS screen rendering. So first off, here is a more accurate pipeline:
Screen pixel -> Transparency mask -> Bitmap pixel -> Pixel drawing function -> Scanline Bitmap -> Scanline Offset -> Frame -> DataSprite -> Cycle -> Sprite
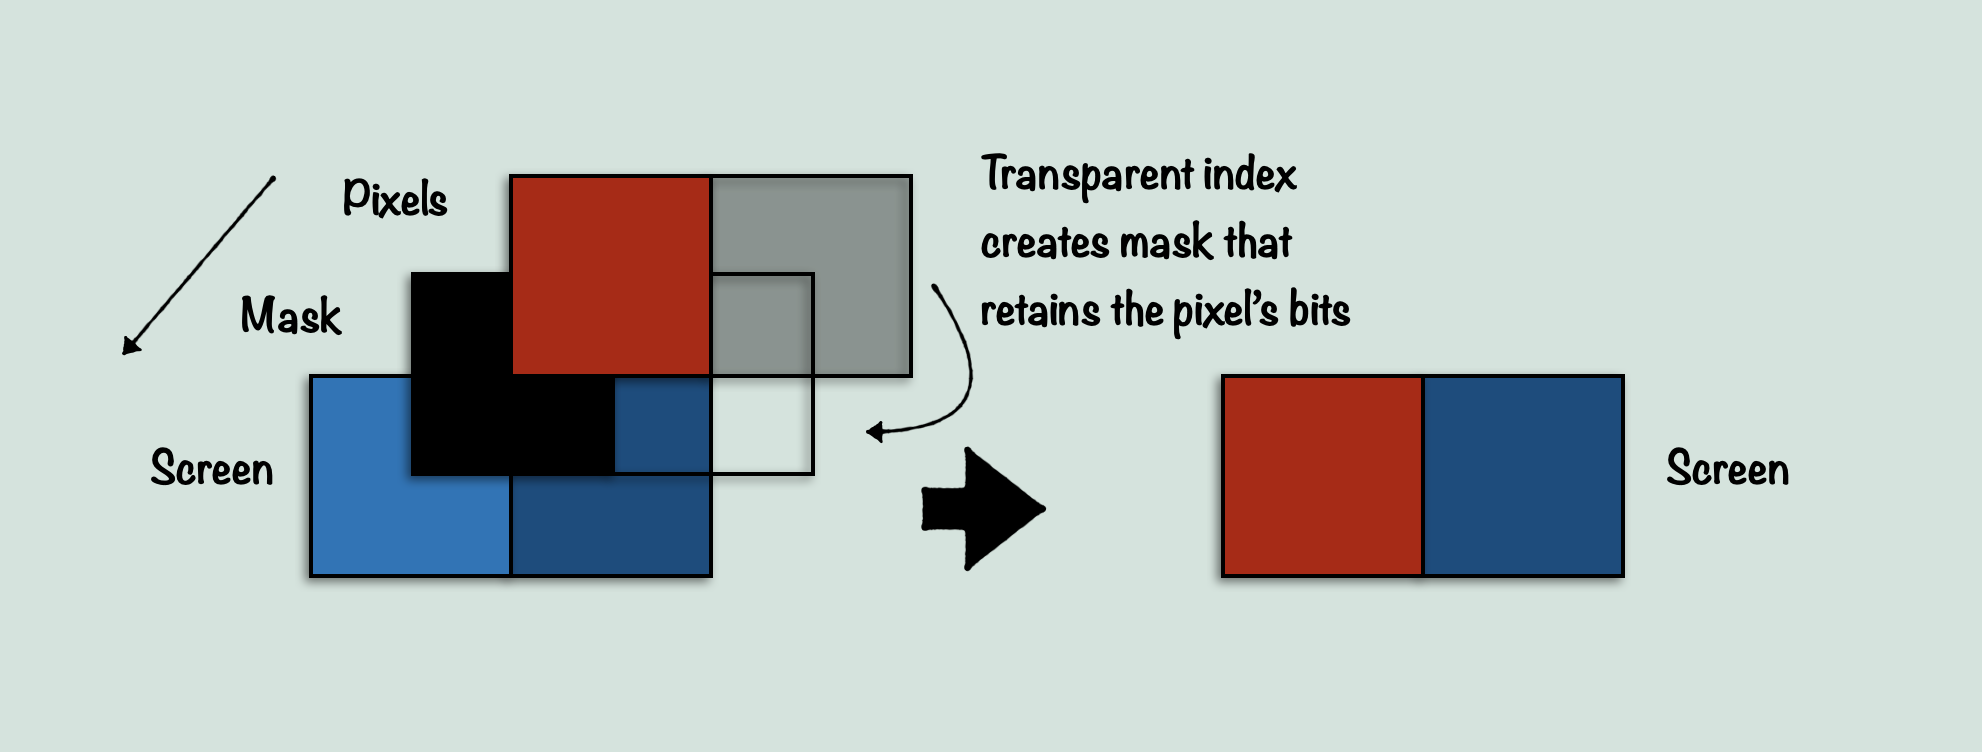
Now, why did I include a function as part of the structural pipeline? Well it’s all part of the pixel drawing system. Before understanding this system however, we need to go over another difference between consoles and PCs. On a console (depending on the console I’m sure), you tell the hardware where to draw a sprite, and the layer priorities, and the hardware handles taking all the graphics data that is at that location, and combining the pixels based on their priority and transparency, into a single pixel for each point. On the PC however, that step was up to the developer. The virtual screen buffer, which is what will be used for drawing to the actual screen on the Apple IIGS, can only be manipulated in bytes, nothing smaller. However, the pixel data of the resources are stored in smaller quantities. The pixel depth is 4bpp (Bits Per Pixel), which means each pixel is contained in one nyble (half of one byte). However since the smallest type of data we can load and store on the 65816 is a single byte, we can not just load from the bitmap and store directly to the screen buffer. We need to at least mask half of the bits for one pixel, and then half for the next, and finally add the two together. This brings up other questions, like alignment, but I’m only going to discuss the main one, transparency. In The Immortal, transparency is defined by a colour value of 0. So you may think that the process would be to extract one pixel of data, check if it’s 0, and if not then add it to a temporary byte, do the same for the other, and then combine the screen byte with the final byte. But that would be a little bit costly. Not much, but considering we are trying to do in software what a console would do in hardware, we need it to be extremely fast. After all, whatever we do will happen for every single pixel of the sprite.
This is where the method used in this game comes in. Instead of treating the pixel data byte as two individual pixels, The Immortal treats the two pixels as one value. And this value, is used as an index into a special array. The game generates an array that contains bit masks which cover a) all bits, b) only the low byte, c) only the high byte, or d) no bits at all. This is because what it wants to determine is what nyble, if any, needs to be empty due to the colour value being transparent. So, if one nyble of the pixel data is 0, then we want to get a bitmask that has 0 where that nyble is. What this ends up looking like is FF, F0…, (0F, 00…)…
If the pixel data is 00, that means both pixels are transparent, and therefor we want all the bits of the screen data, which we get with FF. At 01 – 0F, we want to keep the bits of the first screen pixel, but not the second. At 10, we only want the second nyble, etc. This goes on all the way until FF, providing a mask for every possible combination of colours those pixels can produce.
This mask is then used in between the screen pixels and the bitmap pixels, to combine them into a single byte. (ScreenPixels & PixelMask) | BitmapPixels
This takes up a ton of memory, but it is extremely fast. It handles two pixels at once, and only has to index an array, rather than use any conditionals. It also handles transparency at the same time as applying the pixels to the screen.

There is another thing that the sprite system does which is fascinating, but since similar things are done in the drawChr subsystem (the one for drawing tiles on the screen as opposed to sprites), I’m sure I will cover that next time.
What’s next
As for what’s next? A number of things very soon. With these remaining two weeks, I hope to implement text parsing so that the intro to the game can be shown, as well as tile rendering, so that I can potentially show the first room of the game. There are many steps in between, so we will see how it goes. But at least now I can provide a visual component from the game itself for some of the things that I talk about in these blog posts!
Thank you all for reading, and for now I will leave you with a gif which shows that the sprites are getting loaded in correctly:
![]()
