ResidualVM: Summary

This is the summary of all the works I have done in Google Summer of Code 2018.
Overall Description:
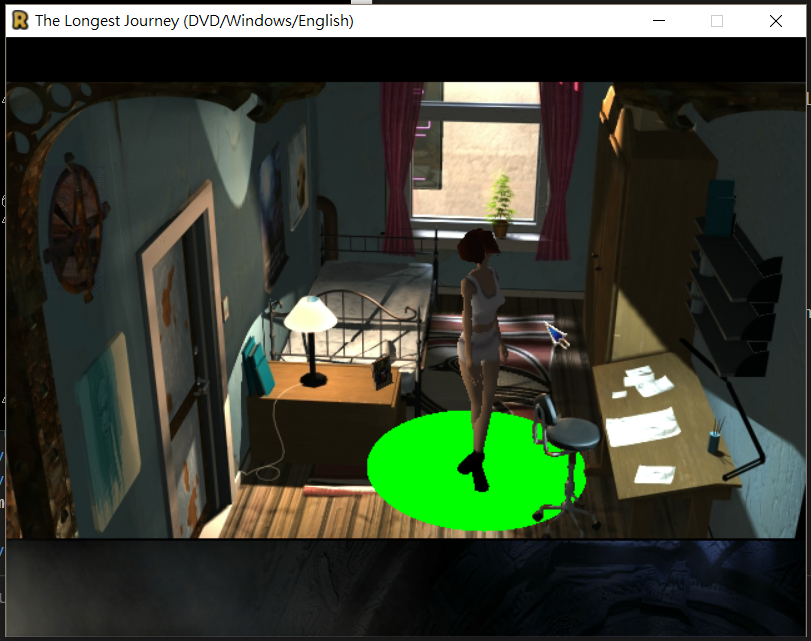
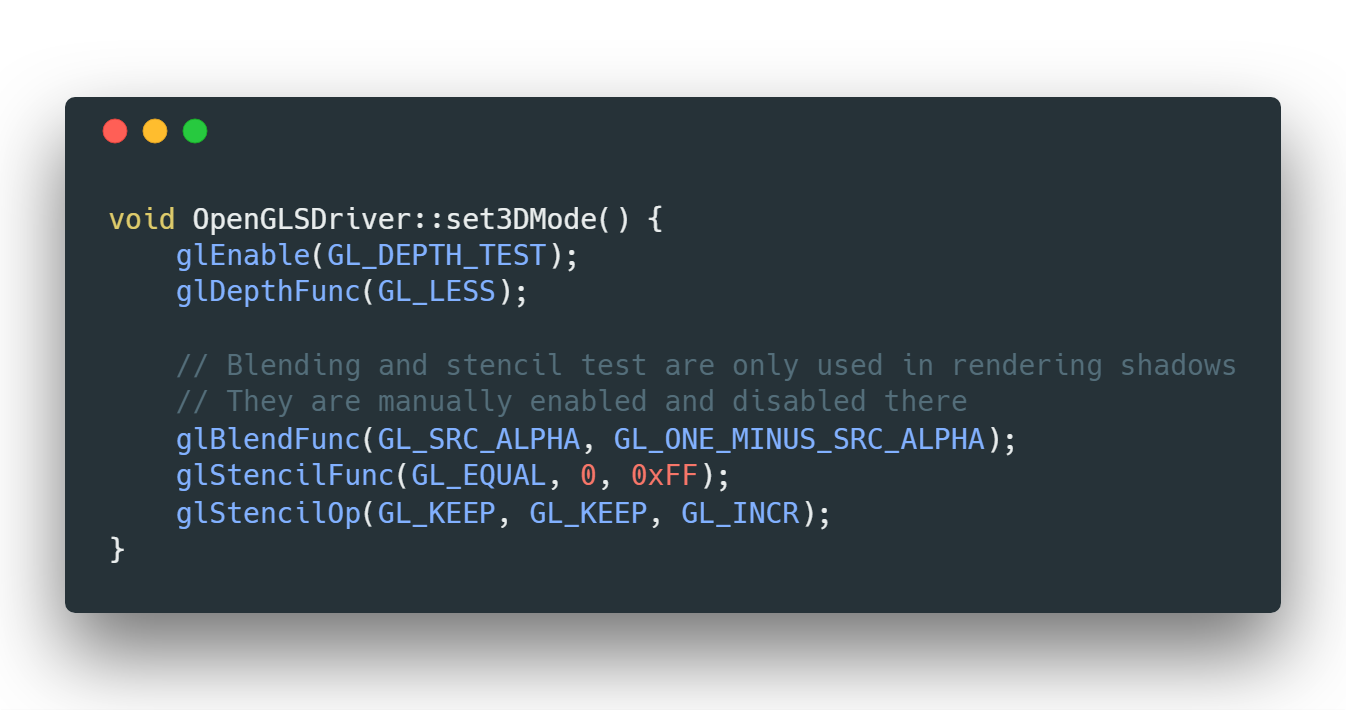
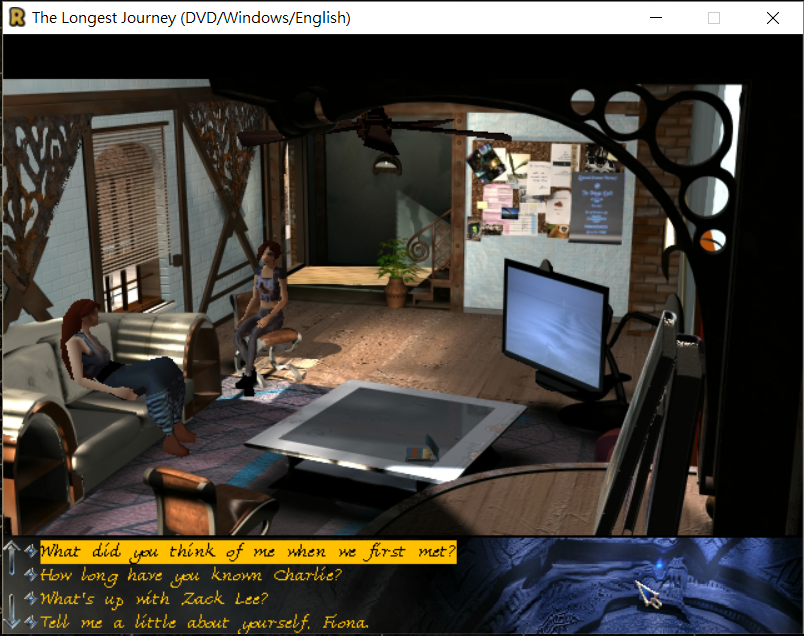
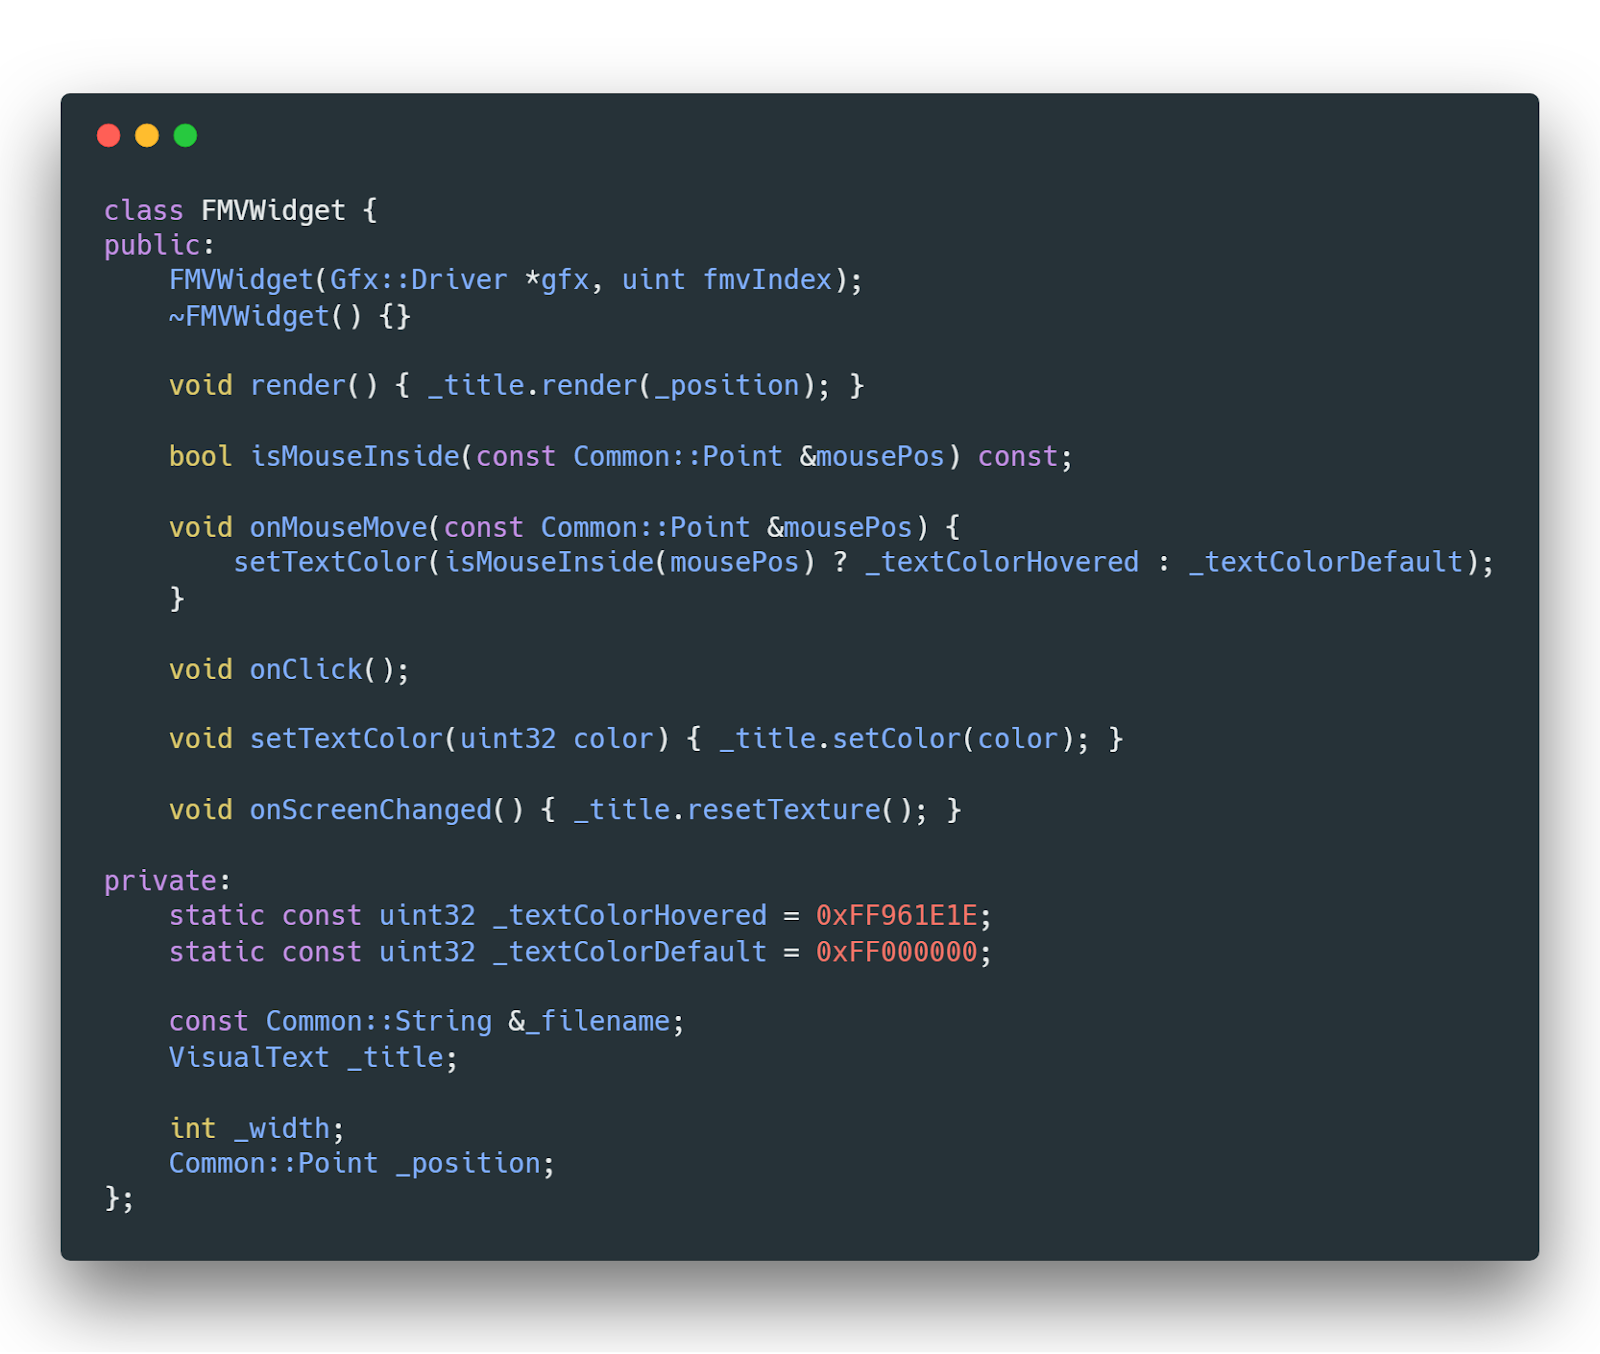
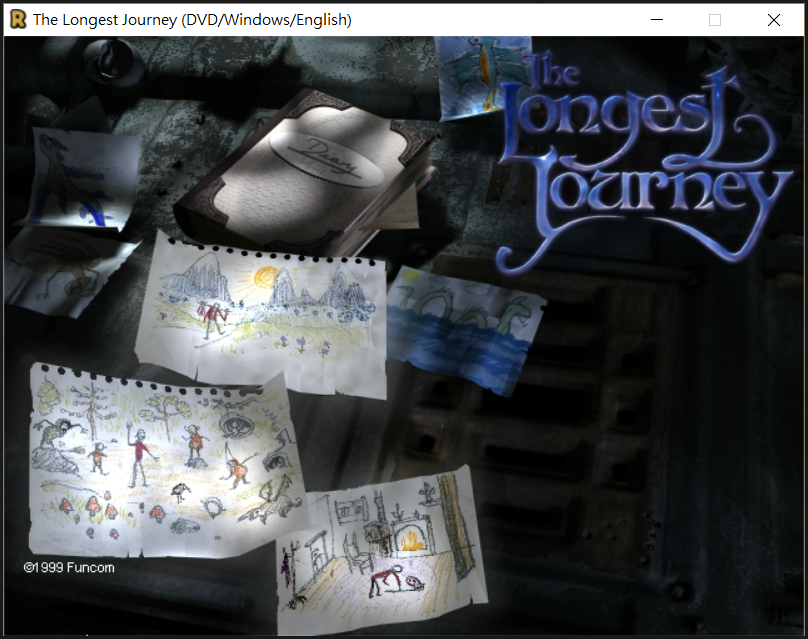
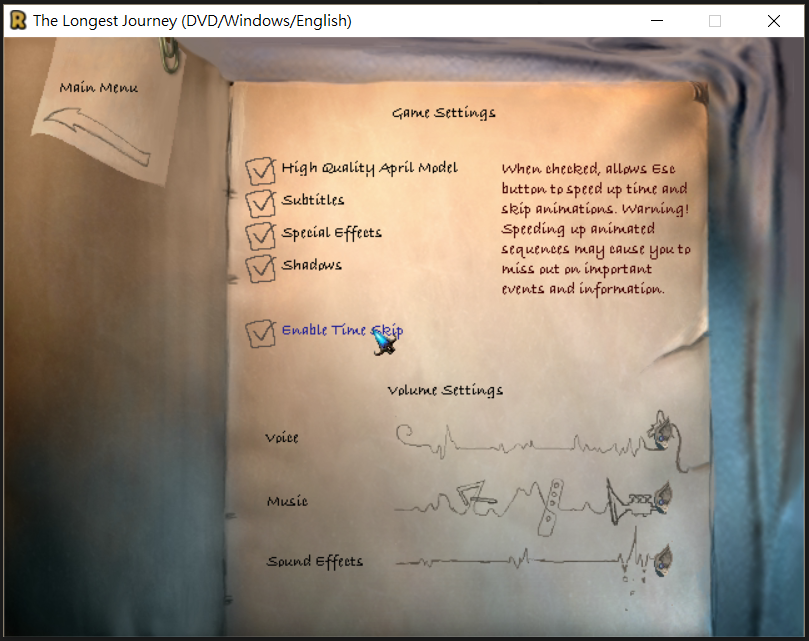
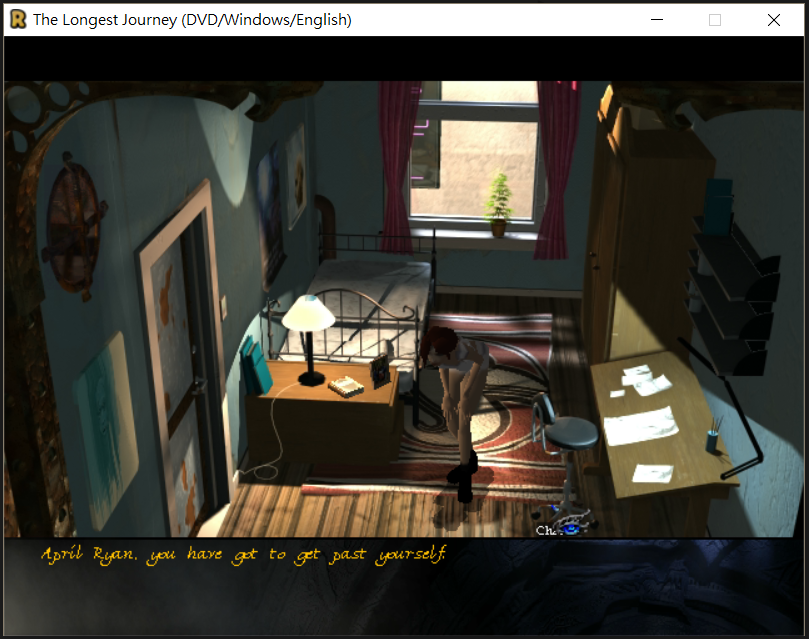
Improvement for the Stark engine used in ResidualVM for the support of the game The Longest Journey with two main focuses: menus and characters’ shadows.
Pull Requests:
Below are the main PR created and merged, ordered by the sequence of development. One may click the number of the PR to view it in detail on GitHub, which contains discussions between me and my mentor along the development.
 
#1415: Implementing the main menu.

#1417: Implementing the settings menu.

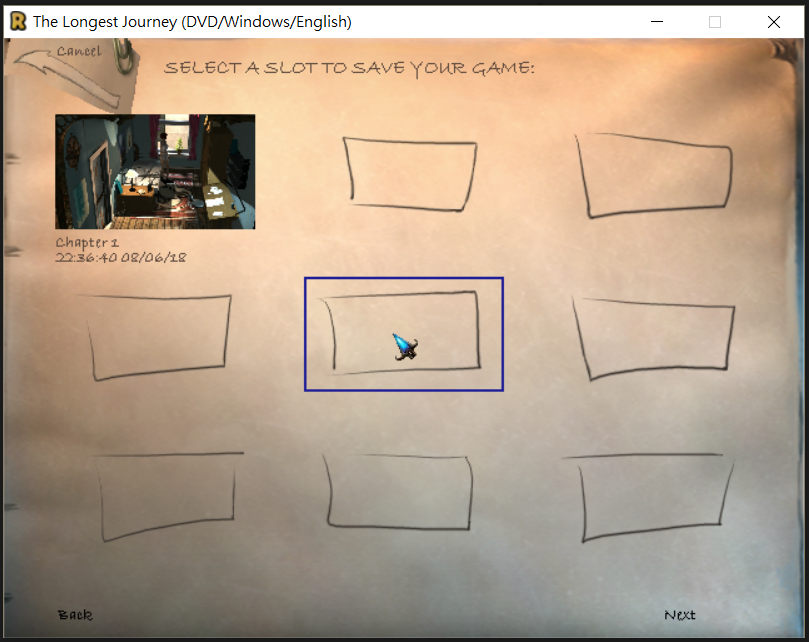
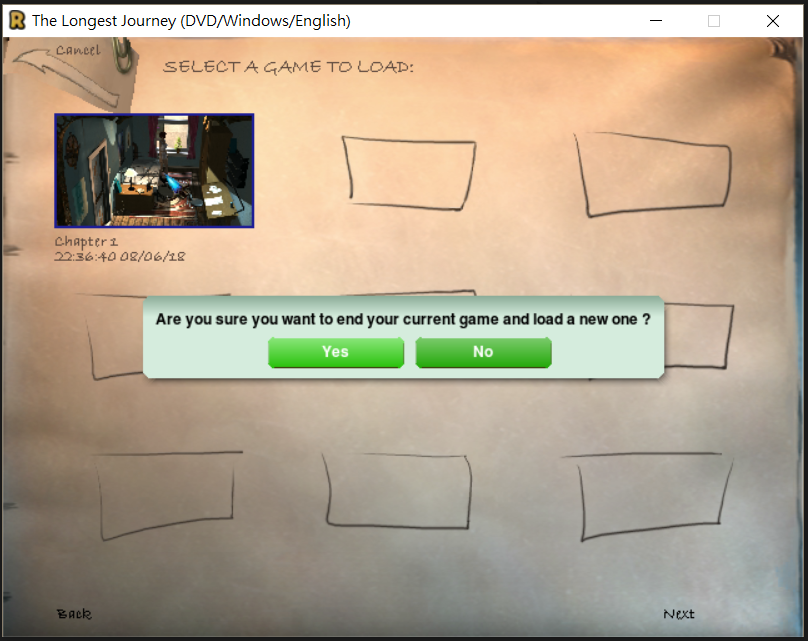
#1422: Implementing the save & load menu.
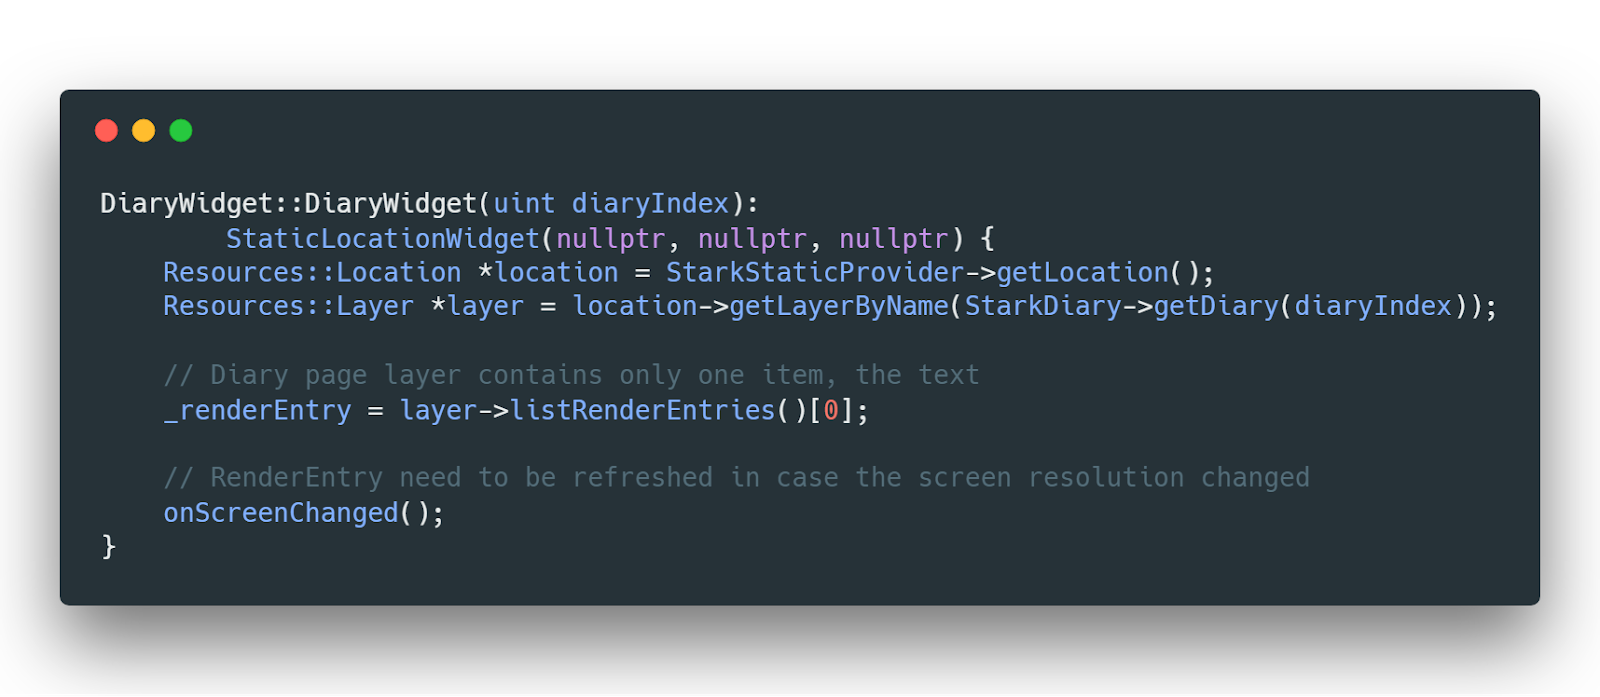
#1442: Implementing the video replay in the Diary menu.
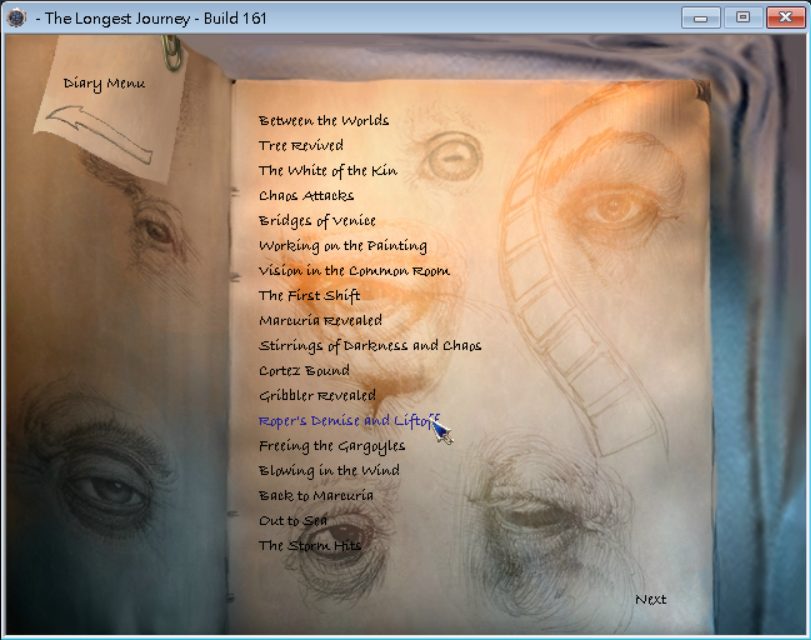
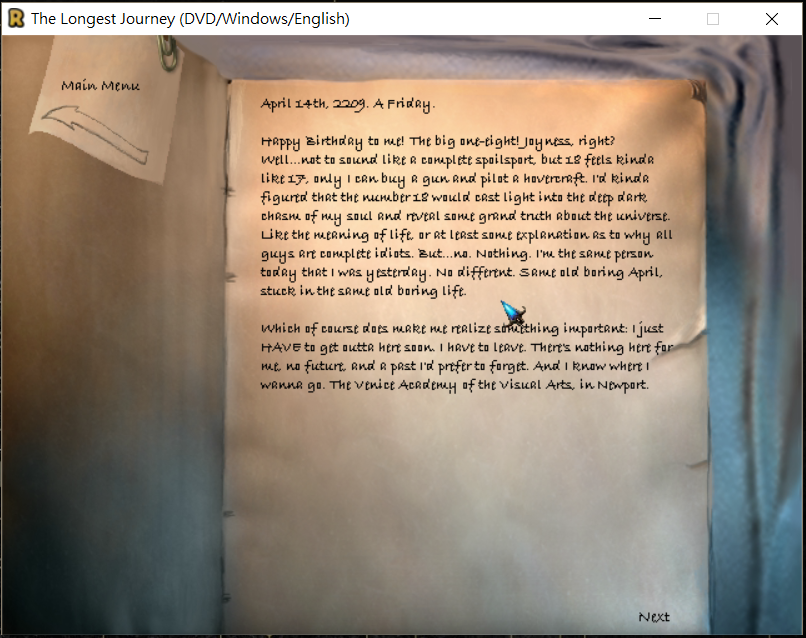
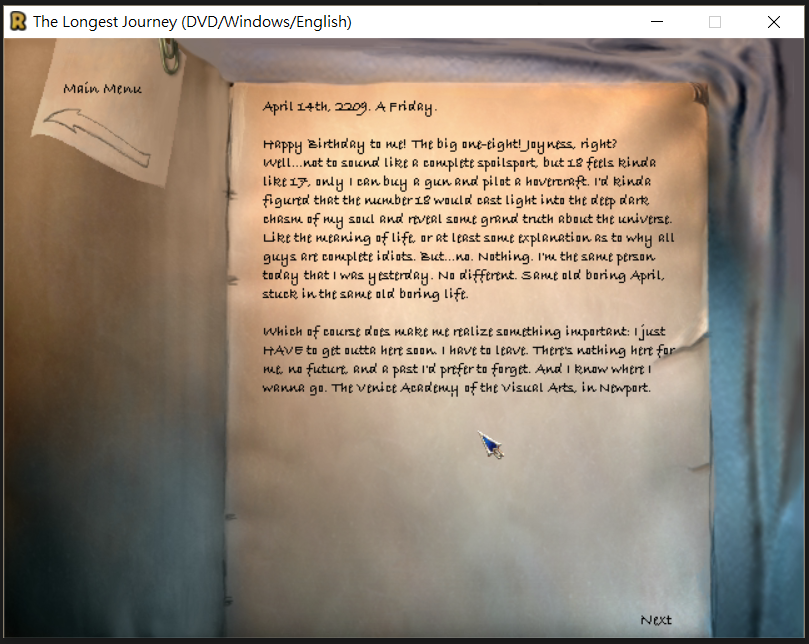
#1443: Implementing the diary pages in the Diary menu.

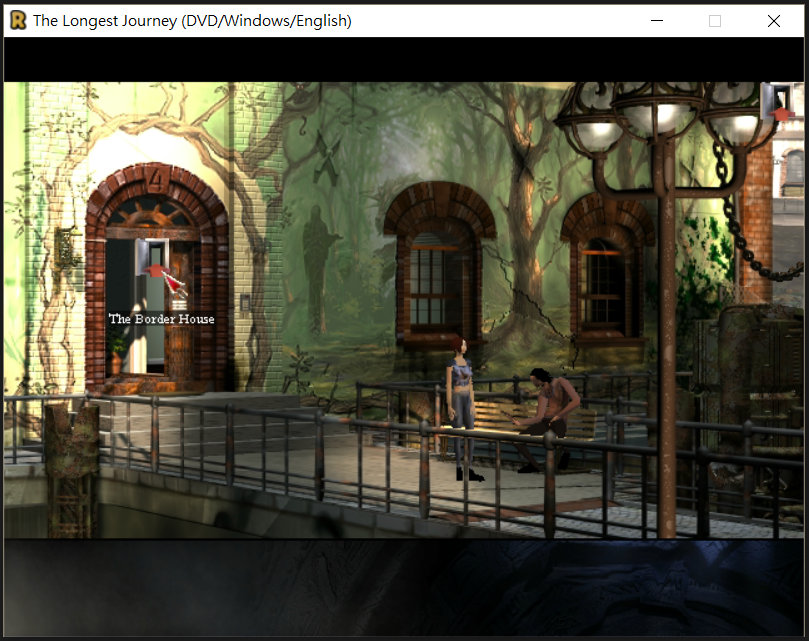
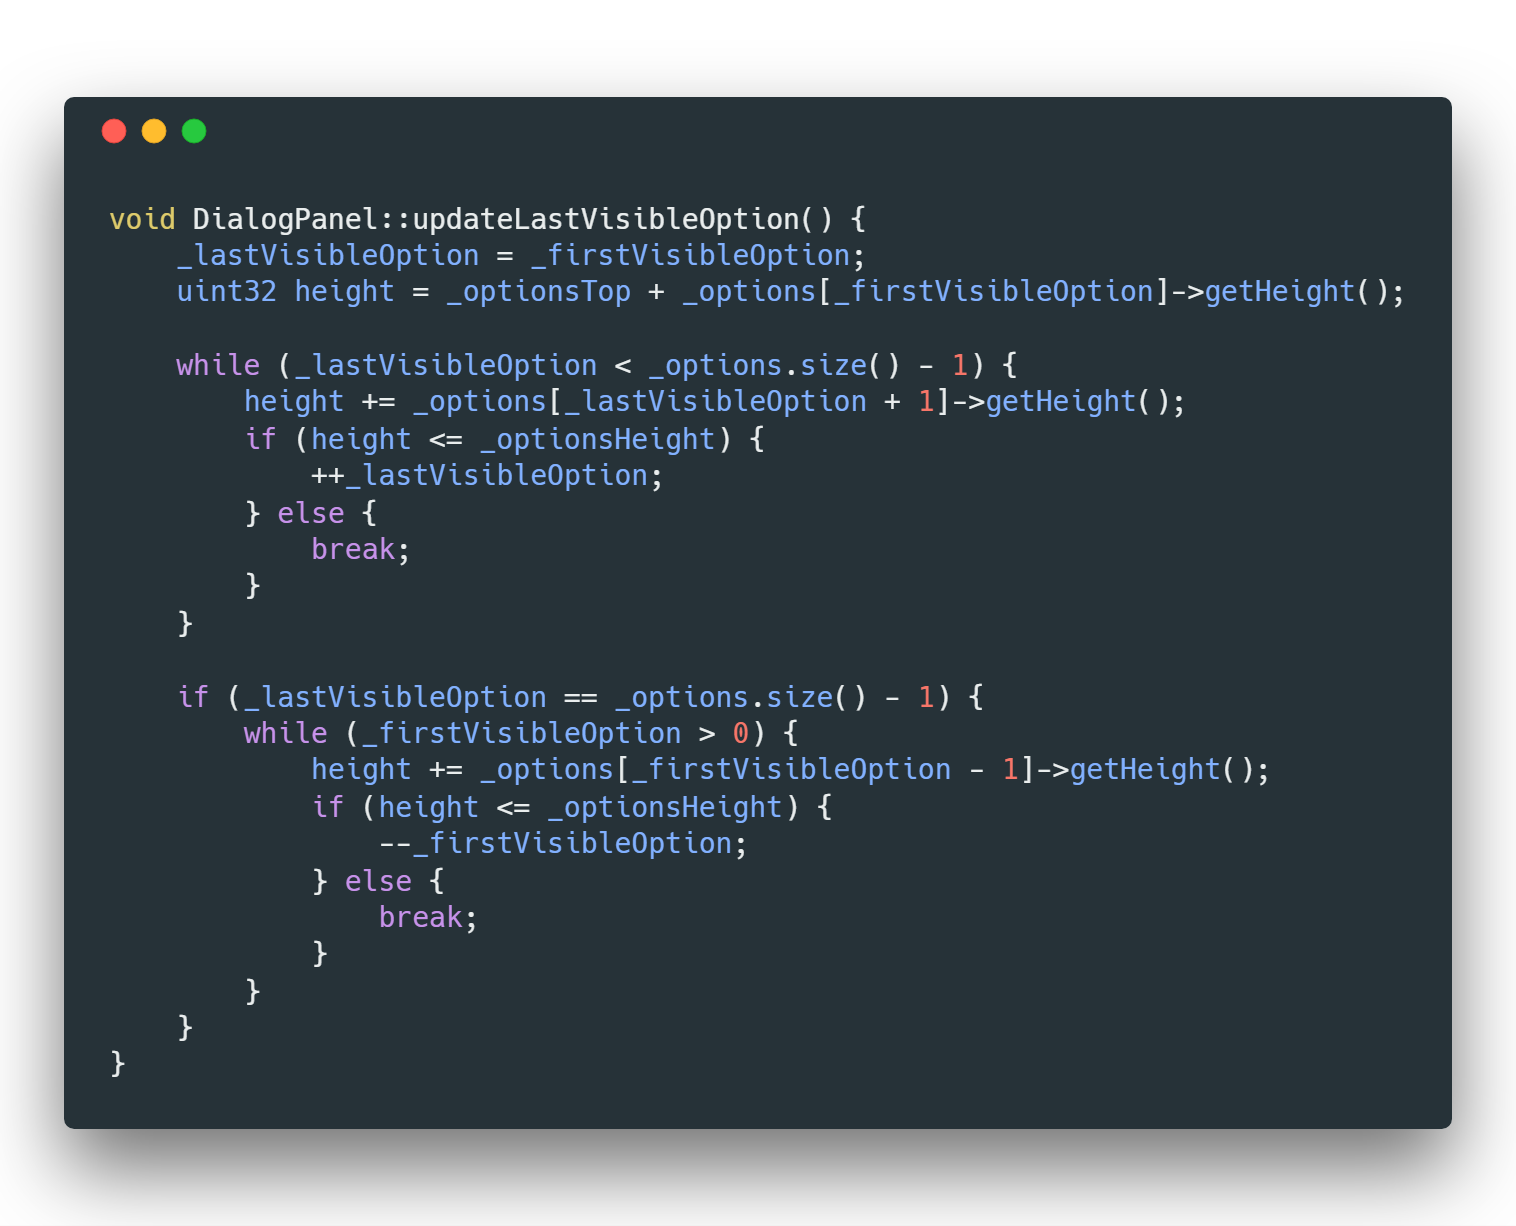
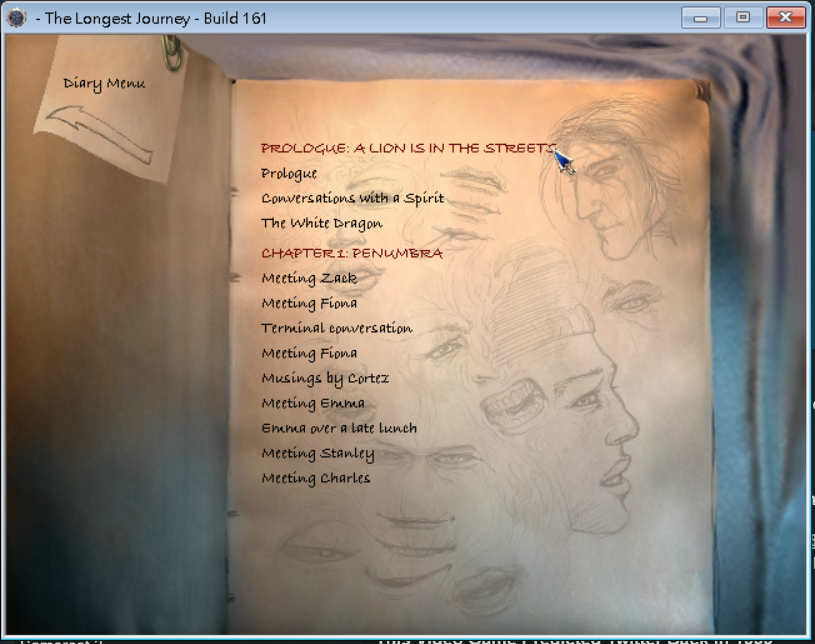
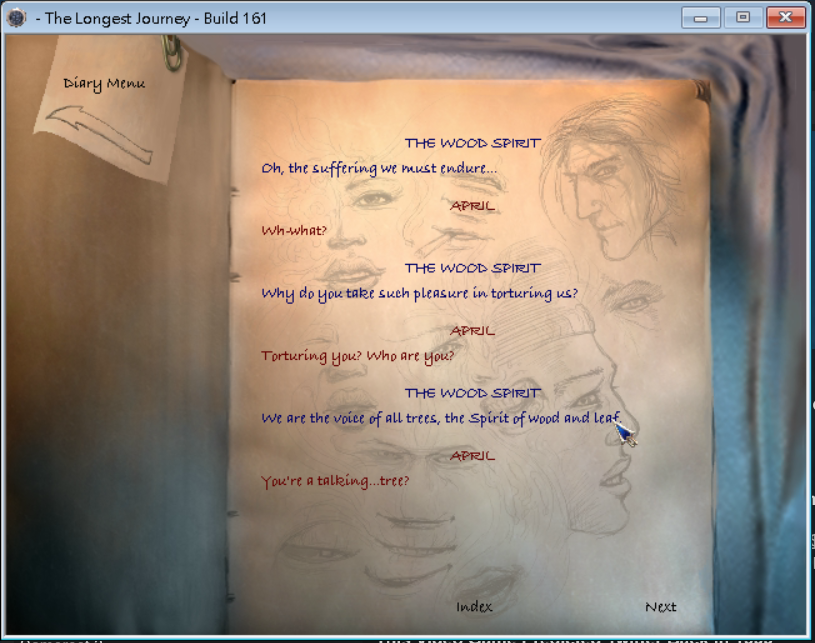
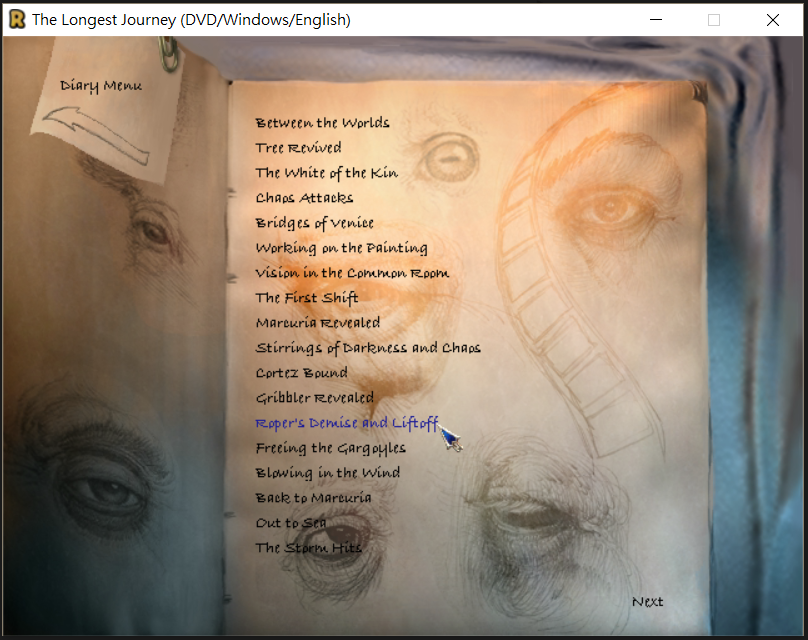
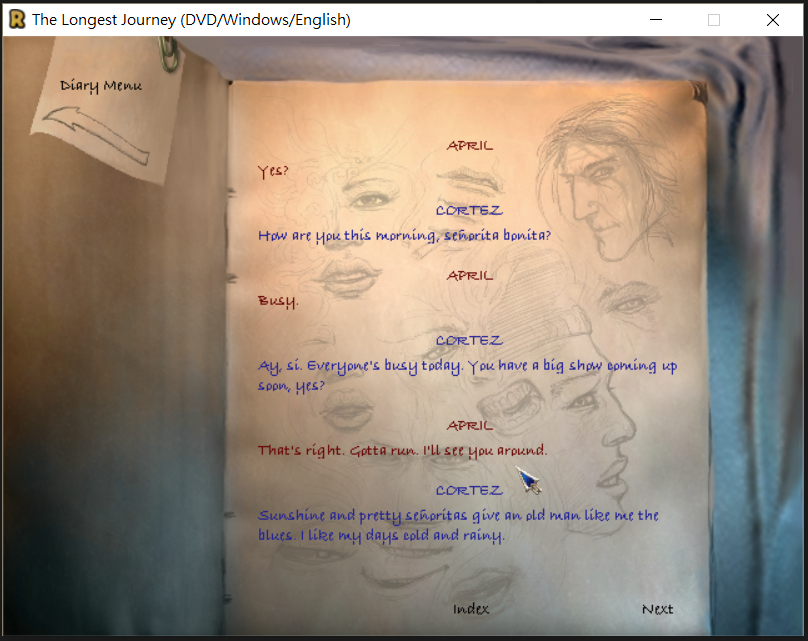
#1450: Implementing the conversation log in the Diary menu.
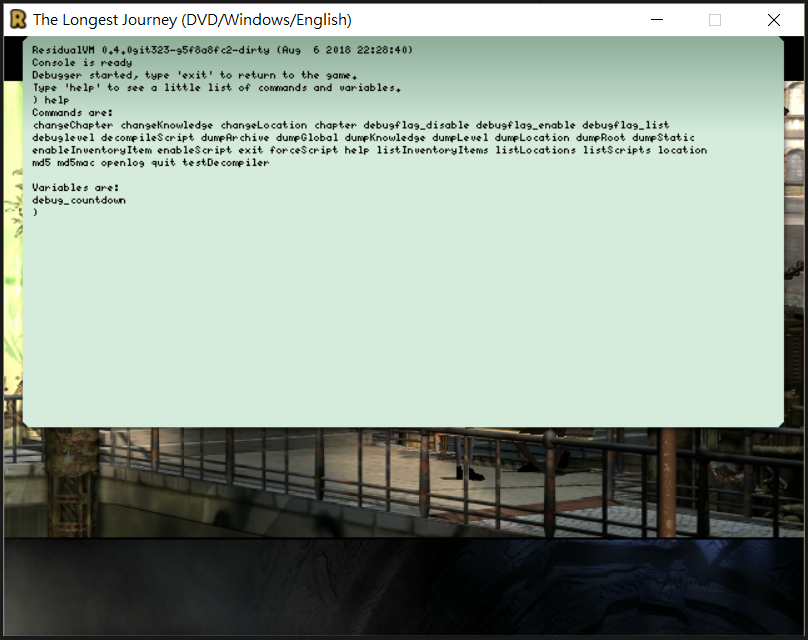
#1456: Improving the debug console of the game.
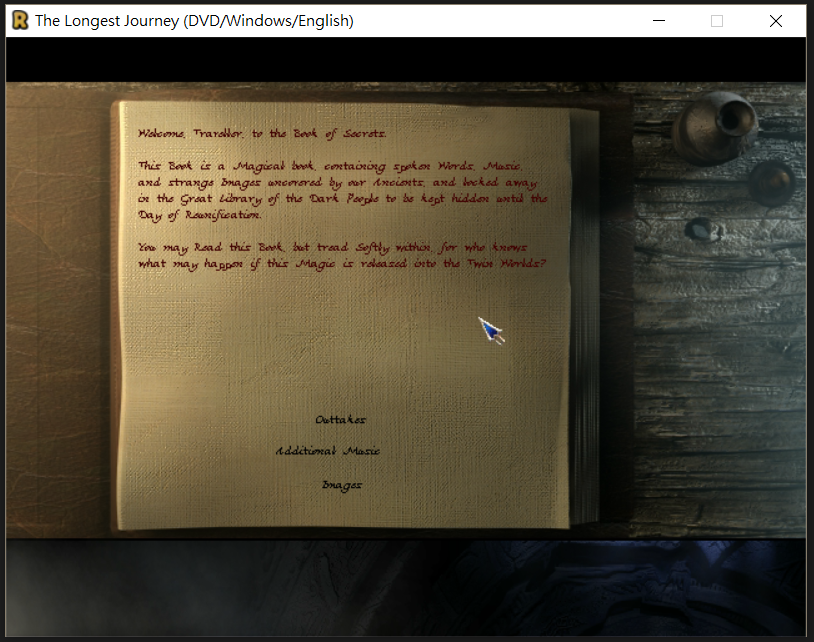
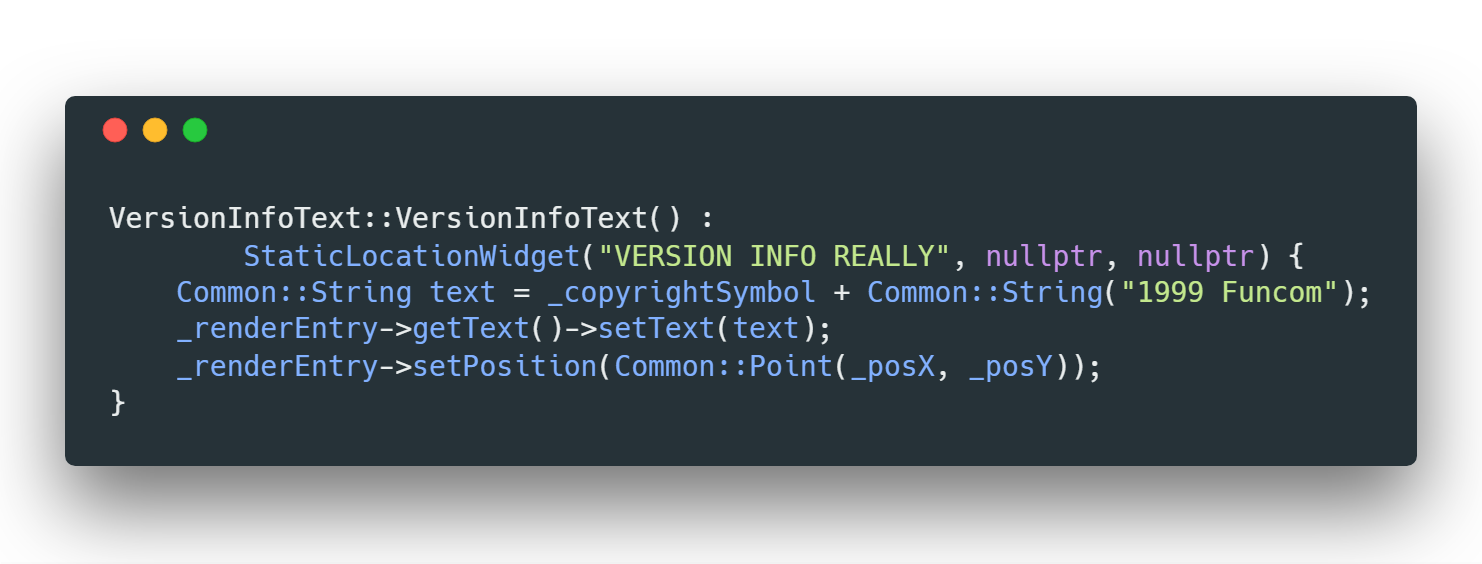
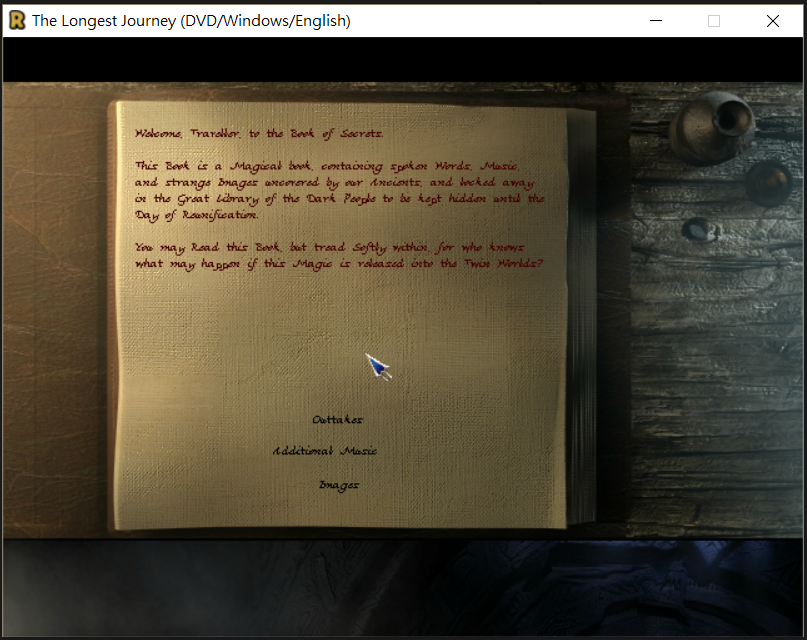
#1467: Implementing the version info text and the Book of Secrets in the main menu.
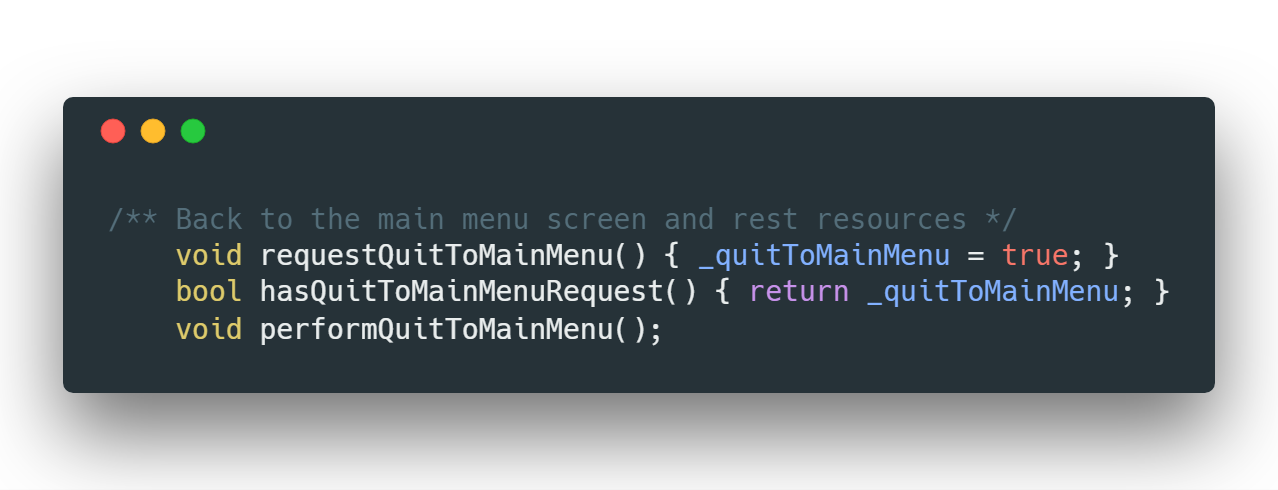
#1468: Implementing a rough version of confirmation dialogs.
#1474: Implementing the keyboard bindings.
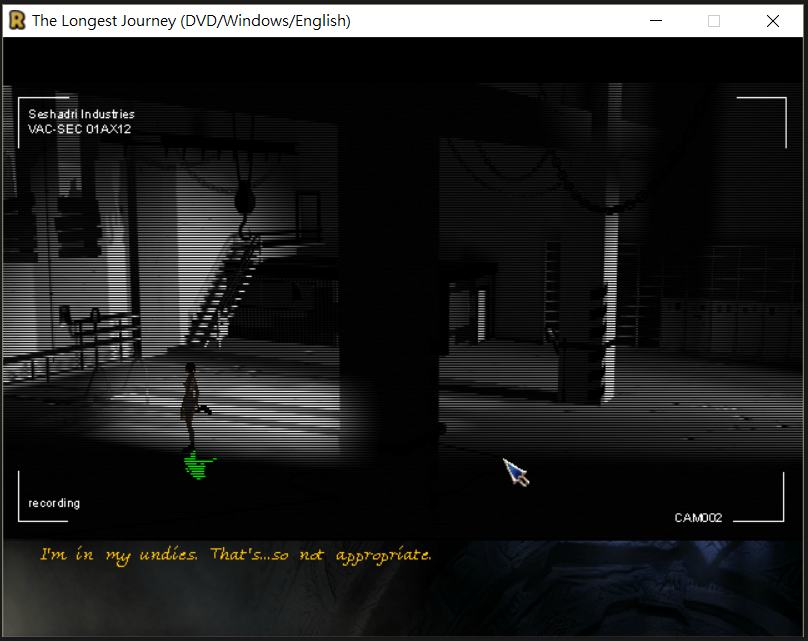
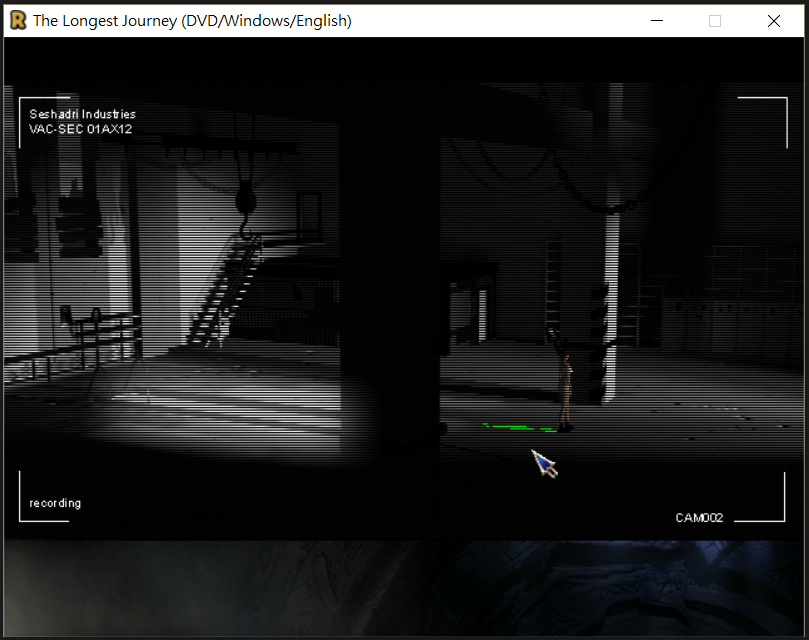
#1483: Implementing the characters’ shadows.
Current Status:
The two main focuses: menus and characters’ shadows are finished as scheduled. All codes have been merged and one may test and use them freely in the game.

Other than that, there are some issues, which is out of expectation, emerged during the development. The feature of pressing F8 to save a screenshot is not implemented for the time being. The confirmation dialogs are still pretty rough. Also, there are some proposed GitHub issues related to the engine, most are about the debug console. I have planned to tackle them after GSoC and I will keep engaging in the future development of ResidualVM to help further improve the Stark engine.

ResidualVM: Week 12

With the help of my mentor, I followed the logic in the original game and finally, now The Longest Journey in ResidualVM shall have shadows that are calculated based on actual lights in the scene!
Below are some screenshots as demonstrations. For a better illustration, I temporarily rendered the shadow with solid green. As you can see, in location 39 00, the shadow of April will become longer and change its direction based on the lights.

As I have said in the previous blog, the game computes the shadow in a way that is not the same as the reality. Well, with the help of my mentor on reading the disassembly, the truth behind the screen was revealed. Honestly speaking, after knowing this, I really don’t think I can figure it out just by observing the game itself.
So, in general, the game first calculated an overall direction from lights. The way to compute the directional vector from lights varies based on the type of the light, but basically, it is related to the distance between the model and the light and the brightness of the light. Notice that I am saying “model” here, not vertices. It turns out that one light direction is applied to all vertices of a model.
The Calculation of the Point Light
After that, the directions from all the lights are summed together as an overall direction. Remember the maxShadowLength I mentioned in the previous blog? It is used to clip the horizontal length of the overall light direction. It turns out that the maxShadowLength needs to be divided by 1000 before being used, that’s why its value seems to be so large.
After that, things become trivial. By passing the overall light direction to the shader, with some linear algebra, it is easy to calculate the casted position of a vertex. It is even easier if you first transform the light direction to the model space since then the plane of the shadow is just the XZ plane. You can save some of the math.
The Vertex Shader
By the time when I wrote this blog, the PR was not merged yet, but I believe it is very close to that. So now, all the tasks scheduled for this year’s GSoC are finished. I have learnt tremendously from this project. I get more familiar with C++, I know more about game programming, and I even get some hands-on experience on CG with OpenGL! Also, I need to express my greatest gratitude to my mentor bgK. He is truly a good mentor. Without his detailed reviews and clear guidance, I would never accomplish so much. This is a truly wonderful journey and a valuable experience.
Thank you all, for you guys are truly wonderful 😀
All code snippets are generated through Carbon

ResidualVM: Week 11

Well, probably the shortest blog ever this time…
Long story short, I haven’t figure out how the original game computes the shadows. There can be at most ten lights in a scene but there is only one shadow, and the way that shadow reacts with lights in the game is just, so strange…
Take this scene as an example. The green circle is the range denoted by the field maxShadowLength. It’s too large, way larger than the true shadow length in the original game. There is only one light entry here, the lamp. You may imagine what will happen if you hold a lamp so close like this. The shadow should be extremely long and cast on the wall, right? That’s not what happens in the original game. In fact, the lamp just moves the shadow a tiny bit against its direction.
So I can only draw the conclusion that the original game does not compute the shadow as the reality. I have tried many possible and “reasonable” implementations that came into my mind but none of them seemed to be fit. (Yeah based on the above description you may be thinking about biasing the length or something like that but believe me, I have tried, really.)
Have to say that this is really frustrating. Anyway, I’ll keep on digging next week.

ResidualVM: Week 10

And I said: “Let there be shadows!” And there are shadows. Just, not good enough…
So, from this week till the end of GSoC I guess I’ll be dealing with OpenGL. As a newbie to computer graphics, I would be lying if I say that I am not worried at all. I once believed that OpenGL hated me, it hated me so much that it didn’t even want me to render a tessellated triangle on the screen. But that hard time is passed now and I am happy that I start to get along well with OpenGL, and it is kind enough to let me produce something physical this week.
Ah, the shadow.
Okay, shadows. Actually what I have done so far is based on my previous wrong assumption about shadows in The Longest Journey. In most of the scenes I have played, which is not many actually, characters have shadows that look like they are cast from above. The Longest Journey is a 2.5D game with 3D characters and 2D backgrounds, so, in my personal perspective as a CG newbie, it won’t be that intuitive to perform a full shadow casting technique like the Shadow Mapping here. But if shadows are just cast from above, then things are a lot simpler.
So, with this “wrong” assumption, and the fact that the original game doesn’t seem to have complex and realistic shadows, I decided to use the simplest shadow casting technique: Planar Shadow. Basically, it just squishes the modal onto a surface and paints it grey. Since I just want to cast the shadow from above, the squishing is even easier. Below is a screenshot when I was testing how I could squish the model.
April: I don’t feel so good…
That’s not the whole story. A good shadow should be semi-transparent. But simply enable blending is not enough since transparent faces will cover on each other, and there will be the Z-fighting problem. The solution is intuitive though: stencil test. With the enabling of the stencil test and proper manipulation on the stencil buffer (no two shadow fragments can be drawn on the same location), a nice semi-transparent shadow is produced.
Blending and Stencil Tet
Well, like I said before, this is a wrong assumption. The Longest Journey does compute shadows from existing lights. And there are three types of light in the game: point light, directional light and spotlight. Luckily lights only contribute to the length of the shadow, so right now I think the Planar Shadow technique can still be used.
From the look of it right now, I guess it is time for some linear algebra. More updates will come next week.

All code snippets are generated through Carbon

ResidualVM: Week 9

So apparently this week is still about the keyboard bindings, mostly on the two things: the display of exit locations, and further improvement on the dialog panel.

In the original game, when the player presses the key X, all the exit locations of the current location will be pointed out with a symbol on it. To achieve this, I need to find which PATTable (the object that contains info of a clicking area) has the exit action, get its location, and render a symbol on it. It sounds easy, but the OO structure of the game engine warps it in a pretty complex way and I have to open interfaces in many classes. After doing so, I started to understand that why people are being more critical to OO design and FP is getting more popular. You really need to know how to balance things. Also, it took me some time to verify the exact location of the symbol to be drawn.

See the exit symbol on the door?

As for the dialog panel, I made a wrong assumption in my previous implementation: assuming that all dialog options will be only one line. Yet taking the fact that an option may wrap up multiple lines into consideration, many corner cases need to be reconsidered. So basically, I have to rewrite the codes in the dialog panel, again, to accommodate this change.

The final approach I came up with is actually not that complicated: instead of just recording the first visible option in the current scrolling, the last visible option is also recorded. When the dialog panel scrolls, one of them can be determined easily and used to find the other one. During the finding, the total height of the currently selected options is recorded to see whether they fit into the panel’s space. Of course, there are some corner cases need to be paid attention to, but the overall logic is intuitive.
Find the last visible option with the first visible option pre-determined
The keyboard bindings task is taking way to much time to tackle with, but I believe it is very close to being merged. I have already been looking at the next important task: implementing the characters’ shadows, and I can’t wait to have some “experience” with OpenGL. Sorry for such a short blog this week, just not much to say. I promise there will be more updates next week.
All code snippets are generated through Carbon

ResidualVM: Week 8

So, this week’s focus is on the keyboard binding in The Longest Journey. In the original game, although you can freely use only the mouse to play through the game, you can still use the keyboard to do numerous things, such as opening menus, pausing the game and selecting options and items. It is like a combination and cooperation of things I have worked on previously.
Most of the bindings, like opening menus, is pretty easy, but some needs extra working and twisting, like directly choosing inventory items through pressing A and S. Up to now, I would say that the most complex keyboard binding I’ve implemented is the binding for dialog options.
A typical conversation scene in the game
The Longest Journey has very heave dialogs, each of them with many many options, all fully voiced. It would indeed be very convenient for players if they can use keyboards to go through and select options in the game. However, the previous implementation of this part is fully based on mouse movements, with a structure that is not suitable to cooperate with keyboards. Therefore, I have to rewrite many of the dialog option selection codes and open new interfaces for the keyboard to interact with. It’s not that easy, but I felt great after successfully doing this.
Sorry that this time there are no code snippets to be shared. Just not that easy to fully illustrated the concept behind in a single blog.
Right now there is still one piece left in the keyboard bindings. When pressing X in the original game, the game will show all the exit locations of the current scene on the screen with symbols on them. The whole logic behind this is pretty complex too and I am still working on it, but I think it is close to being finished soon. We’ll see~
For the detailed development of the codes, please refers to the pull request on GitHub.

ResidualVM: Week 7

Sorry for you guys waiting as if there really are people waiting to read my blog, it seems that this week, and potentially next week, are still about finishing small tails left from the menu task. Well, this is not just because of laziness (and there is some laziness recently… I didn’t feel completely well for a couple days… But I am good now, so no excuses any more), but some of them actually have problems deeper than I had expected.
One example is the task of implementing the Book of Secrets, the extra content of the game, in the main menu. It looked easy at a glance since it is not a menu, but a game level. Just load the level when the button is clicked and there, the book opens.
The Book of Secrets
But that’s not the whole story of it. The Book of Secrets is probably the only game level that contains texts in its resources. When it comes to texts, one problem will show up: the texts’ textures will not be automatically reset when the screen’s resolution changes. I have done similar things before but again, things are different here. The level of the Book of Secrets contains only one location, but that location contains multiple layers, which all contain texts. The default implementation of a location will only list all render entries, which store the texts I am looking for, of the currently enabled layer. So I have to open a new interface in the Location class, let it list all the layers, then find the render entries containing texts and reset their textures.
Find all the layers and reset texts’ textures
Another annoying problem of the Book of Secrets is that it can directly quit to the main menu, which is accomplished by the script system built into the engine. The point is: the original implementation of the quitting to the main menu will automatically deallocate all the loaded game resources, but the script system is still running in the middle of the process, soSEGMANTATION FAULTTTTTTT!!! For some reason, I don’t use an IDE for development, and it seems that I still need experiences in managing pointers, because it literally took me an ETERNITY to realize what happened. Really, now I know the good of Linux, where you can install Address Sanitizer to help to debug. Fixing this issue is easy though, just delay the time where the quitting is actually performed.
Delay the quitting
The other task I have finished this week is about enabling the confirmation message dialog. Since the original game uses the OS’s dialog and right now ResidualVM has no API for this, after discussion I decided to just use ResidualVM’s dialog for the first version. At first, I intended to follow how (I think) the original game does: read all the message texts used from the gui.ini file, whose content may change to achieve localization. I had written all the necessary codes to do this, but then I found that ResidualVM’s dialog does not support non-Latin characters well. So sadly, right now only the built-in default English version can be used. I kept all the codes there though, for future development.
Now I am working on the keyboard binding task. Honestly, I didn’t know that you can play The Longest Journey with the help of the keyboard until my mentor told me so. It doesn’t look like a handy task, but manageable, and I plan to make it my last menu task before I officially start doing the shadow. Anyway, time to keep on working!
For the detailed development of the codes, please refers to this and this Pull Request on GitHub.
All code images are generated through Carbon.

ResidualVM: Week 6

Not much update this week. The conversation log menu is still under review at this point, but it should be merged very soon.
The recent plan is to finish some small things left that are related to all the newly implemented menus. I have included all of them in the project on ResidualVM’s GitHub page. Right now I have finished implementing two of them:
Task 1: Improve the debug console. Basically, this is a task about fixing issues. There is a debug console, which I have shown in week 1, provided in ResidualVM’s The Longest Journey, where a number of commands are provided for users to look at the game’s data and probably mess up with it. In the previous implementation, the console will crash if the user types improper commands in improper locations. Fixing this is not that hard, just add a bunch of checking beforehand and you are done with it.
Task 2: Add the version info text in the main menu. The lacking of the version info text was aware of weeks ago. I just want to tackle it later, and it’s right to do so since now, with the previous experience, I am crystal clear about how to deal with this: the “VERSION INFO HERE” widget is used for the text, so I just need to access its RenderEntry, get the VisualText it contains, and reset the text, plus twisting the position. It took me some time to think of a way to display the copyright symbol ©, but the rest is a piece of cake.
The Version Info Text
Before I wrote this blog I opened the pull request for the debug console and I intended to do the same for the version info one, but in order to avoid potential conflict, I created those two branches based on the branch of the conversation log menu, which hasn’t been merged yet, so the commit history of both of them is not clean and they will be rebased soon after the merging. I don’t like putting things that I deem unclean here. Anyway, if you are interested in the development, feel free to take a look at my GitHub.
All code images are generated through Carbon.

ResidualVM: Week 5

This week’s work nearly blew my mind…
So, it is finally the time to bring the conversation log back to The Longest Journey, which is another pretty complex menu in the game. In the conversation log, players may view all the past conversations they encountered. What makes this menu extremely complex is that it is completely dynamically data-driven generated. Based on your previous action, the conversations could be different. This means that retrieving all widgets of the current page at once is not working since you don’t know for sure how many widgets there will be.

Worse still, this menu actually contains two submenus: the Index and the Content, which means I am actually implementing two menus on one trail. And just when I am typing this blog I suddenly realize that it won’t be difficult to actually separate them as two distinct menus, damn…

The Index of Conversation Log
The Content of a Dialog

The mechanism of recording conversations has been implemented in the existing engine, so my job is just to retrieve them and properly render them on the screen. Wrapping the texts as classes and widgets has become handy for me, but the hard part is that I need to find a way to dynamically generate the layout of those texts.

In the game’s data, there are two entities called IndexFrame and LogFrame, which contains damn only the bounding box of the layout. My way of using them is simple: A Point is used as the rendering position of the current manipulated text. The height of the built text will be used to check whether rendering this text in the current position will exceed the box. If not, put it in an array for rendering, update the next position and go to the next round, otherwise, this page is finished. It sounds simple, but it needs more efforts than before to make the logic clear and maintain a good structure.

No code pic this time, for the reason that it is really not something that can be shown with a few lines of codes. Anyway, implementing this conversation log menu is really a hard bone, way more complex than last week’s work. But challenges make things interesting, aren’t they? Although my brain nearly exploded and I literally dropped one commit to rewrite it in the process, I actually enjoyed myself and found the feeling of accomplishment. That’s what makes GSoC valuable, I believe.

Well, it looks like the task of implementing the menu of The Longest Journey is in its last phrase. I am still not sure what to do next. We’ll see.

By the way, tomorrow (June 18th) is the Dragon Boat Festival in China. If you see this, go have some Zongzi, will you?

For the detailed development of the codes, please refers to the Pull Request on GitHub.

ResidualVM: Week 4

Not many things to update this week. I just started doing the internship, so I am still getting used to the new schedule. There is one thing I found out though: GSoC is like a million million million time more interesting than my internship. So sad that I cannot use GSoC to cover the credit requirement of my university.
OK, back to business. There are two focuses in this week: one is the video replay menu, the place where you can replay the video you have seen in the game, and the other is the diary pages menu, where you can read April’s diary. These two menus are both pretty easy, so I actually didn’t work heavy on them. The overall logic for them is pretty straightforward and is basically the same as what we have done previously. Get the widgets, render them, put actions on them, done.

The video replay menu
A diary page

Although pretty simple, there are still some small things that need to be treated specifically in these two menus.

For the video replay menu, the widgets for videos behave slightly differently from other normal widgets: the cursor will not change when you move your mouse on it. Since the mouse changing mechanism is controlled by other entities, it just felt silly to change the existing mechanism to deal with this case, plus the behaviours of video widgets are all very simple. Therefore, I decided to build a new class called FMVWidget, specifically built for this menu. It’s like a simplified version of the previous StaticLocationWidget, with fields and functions that just covers the need of the video replay menu.

See, it’s so simple that I inline many functions
For the diary pages menu, although the texts of the diary can be retrieved with the class RenderEntry, like the classic StaticLocationWidget,  the game identifies them not through their own names, but the names of resource layers that they belong to. So we need to go to the Layer class to retrieve the text we want.

The DiaryWidget

Well, that basically is it. After these two menus are fully polished and on the trail, it shall be the time to move to a hard bone: the dialogue menu. Let’s see what will happen there.

For the detailed development of the codes, please refers to this and this Pull Request on GitHub.
All code images are generated through Carbon.