Hi all, my name is Kartik Agarwala(hax0kartik) and in the past three months, I worked as a GSoC student under the mentorship of Eugene Sandulenko(sev) and Strangerke with ScummVM. The main focus of my project was to integrate the CRAB engine, developed by Pyrodactyl Games, into ScummVM. This blog serves as a final report of what I accomplished in this three-month period.
What’s been done?
The original milestones as per the project proposal were:
- The skeleton engine with some of the main classes is compilable within ScummVM.
- Skeleton engine is extended to fully include the first component. This includes loading and parsing XML files.
- Work on the graphics component.
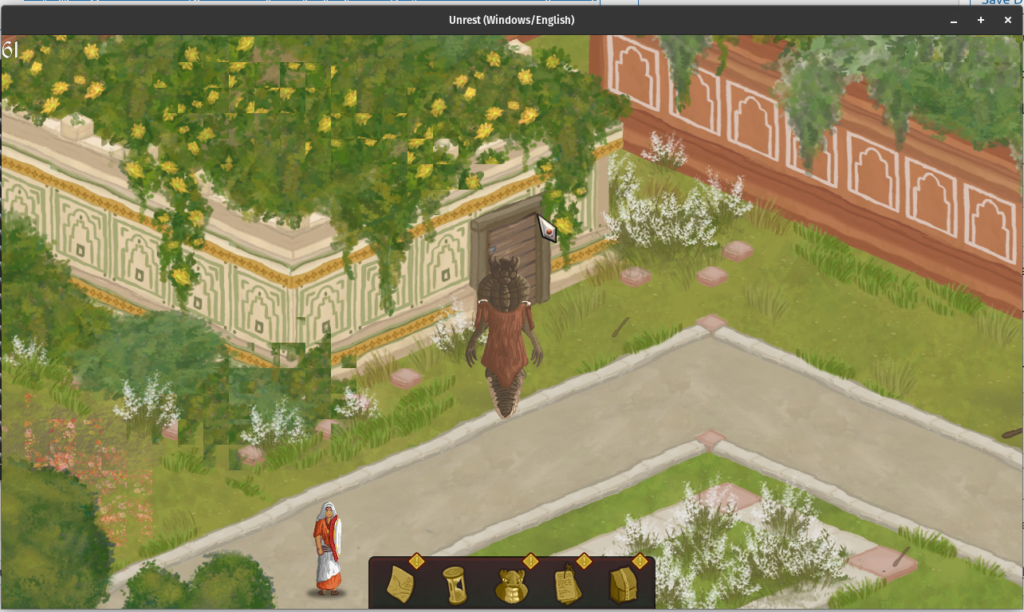
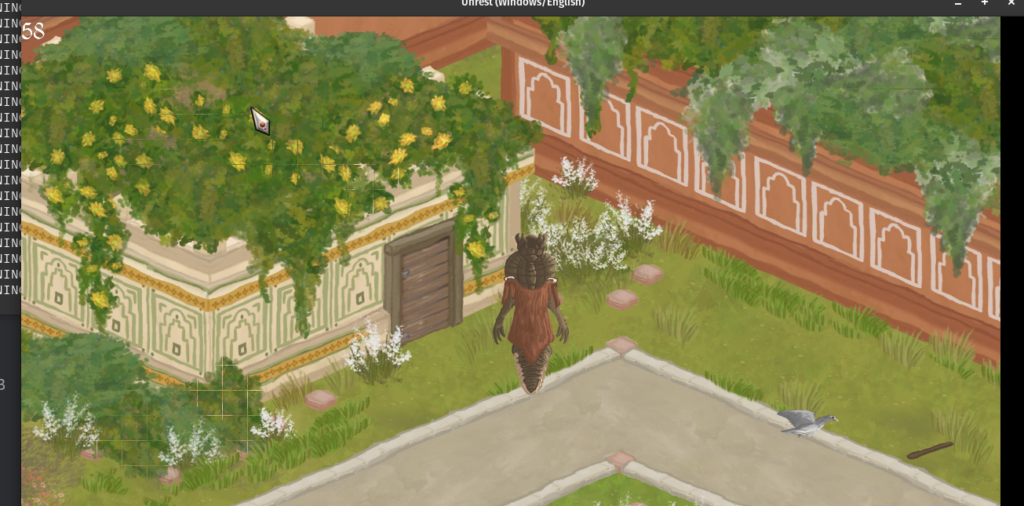
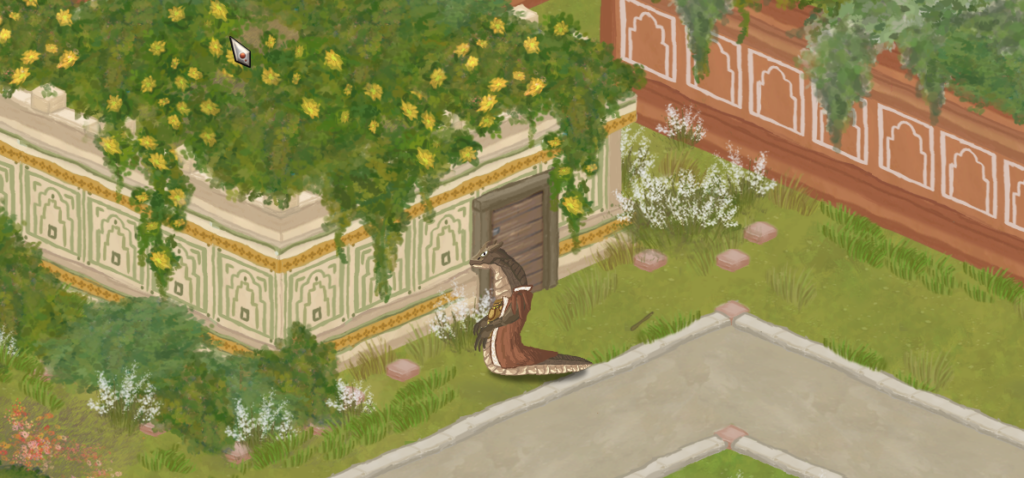
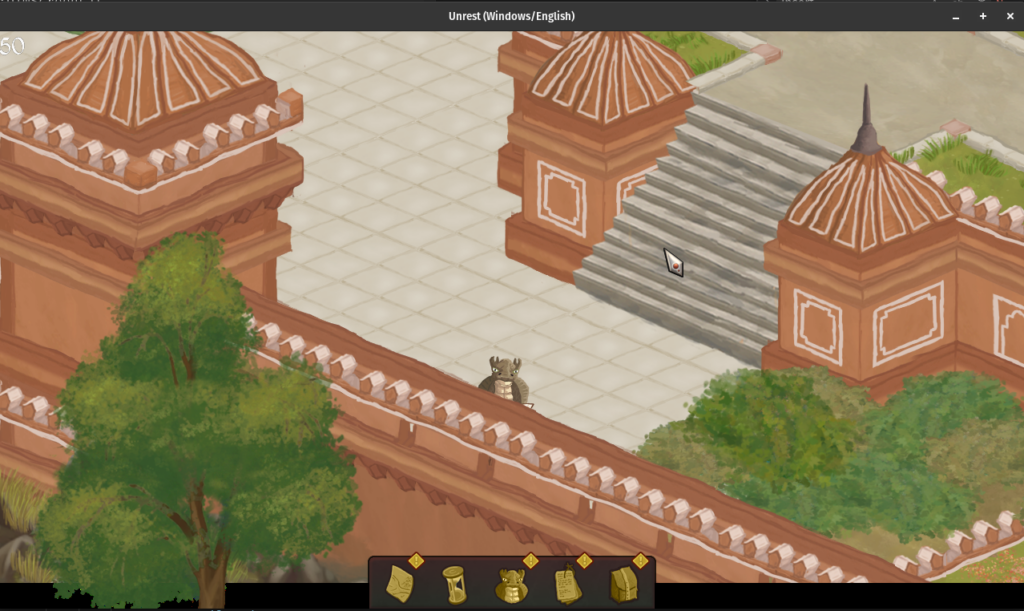
- Get Unrest into a somewhat working state by integrating the essential components.
- All the components are integrated aside from audio.
- Integrate audio and ensure that the game is playable.
All of these milestones have been met.
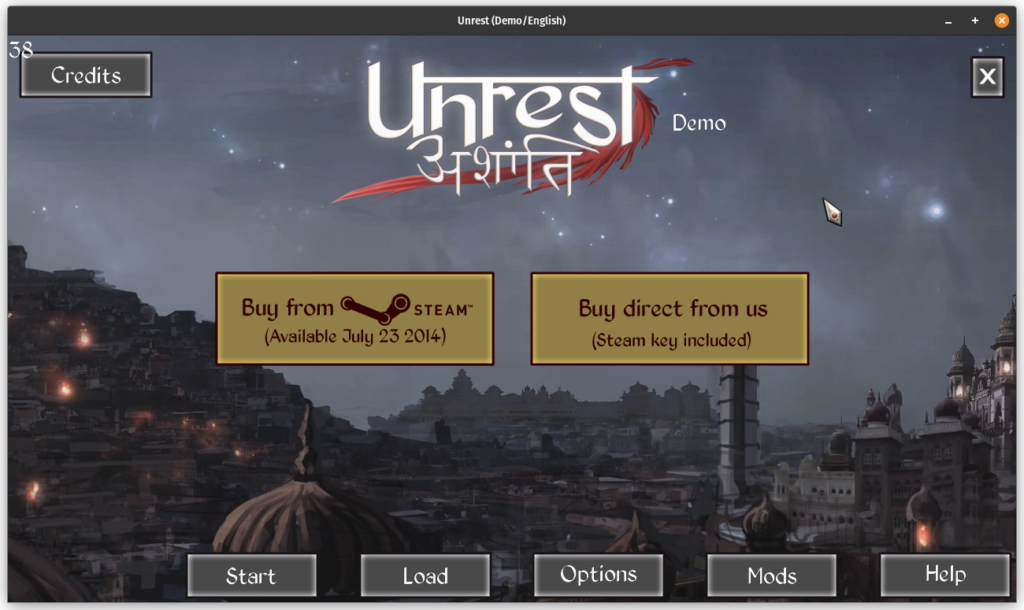
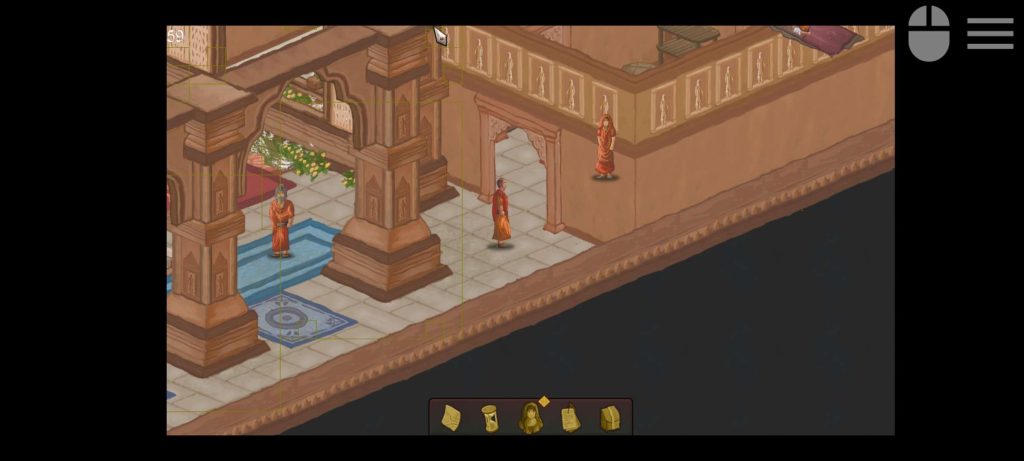
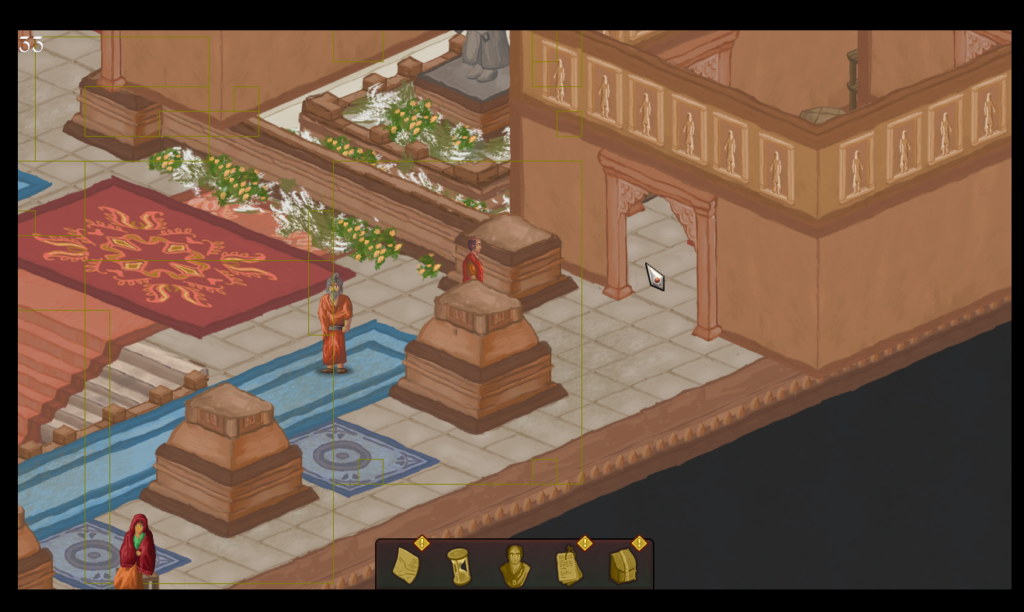
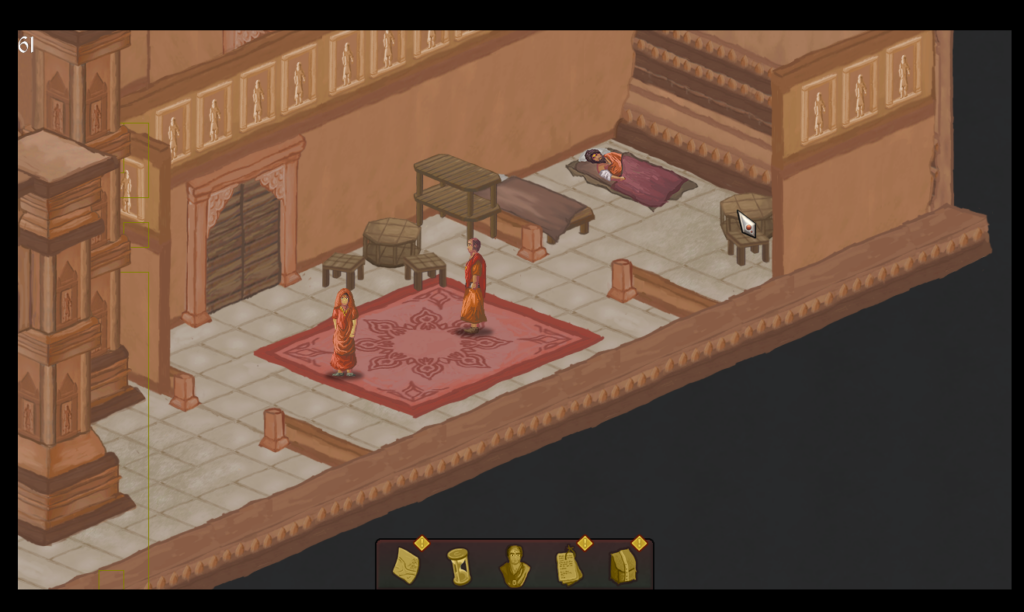
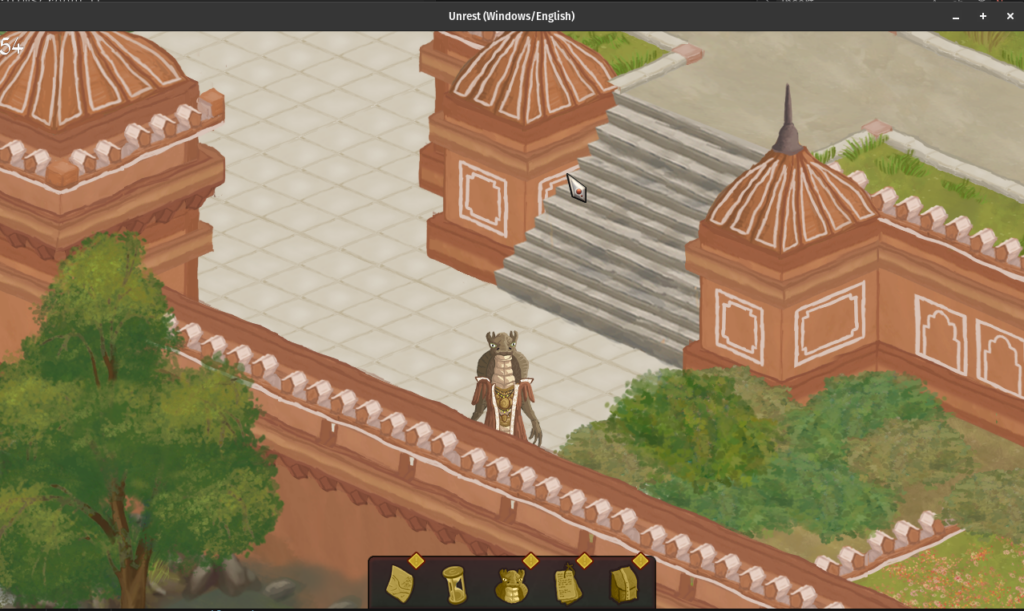
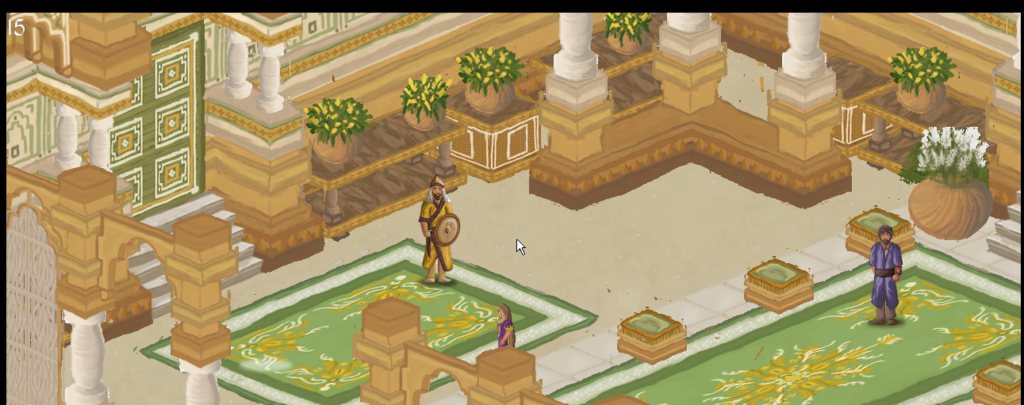
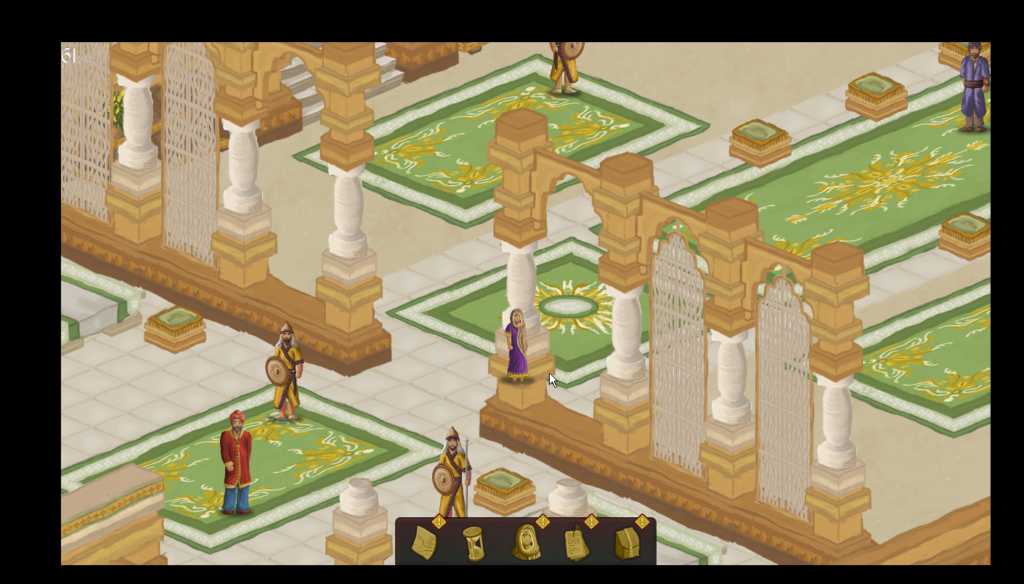
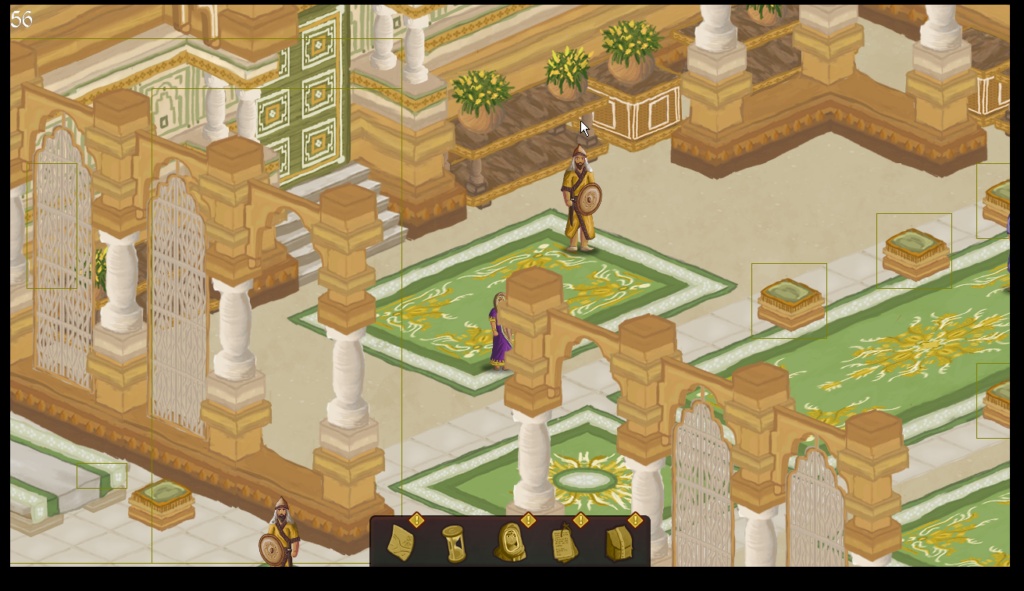
CRAB has been fully integrated into ScummVM and Unrest is playable from start to end.
My changes were merged in the main ScummVM branch with PR #5229. You can also see the “feat-CRAB” branch in my fork to view the most recent changes I made.
Accepted changes
I created a number of PRs in the last three months, all of which were accepted. The following are some of the more important PRs that I created with a brief description.
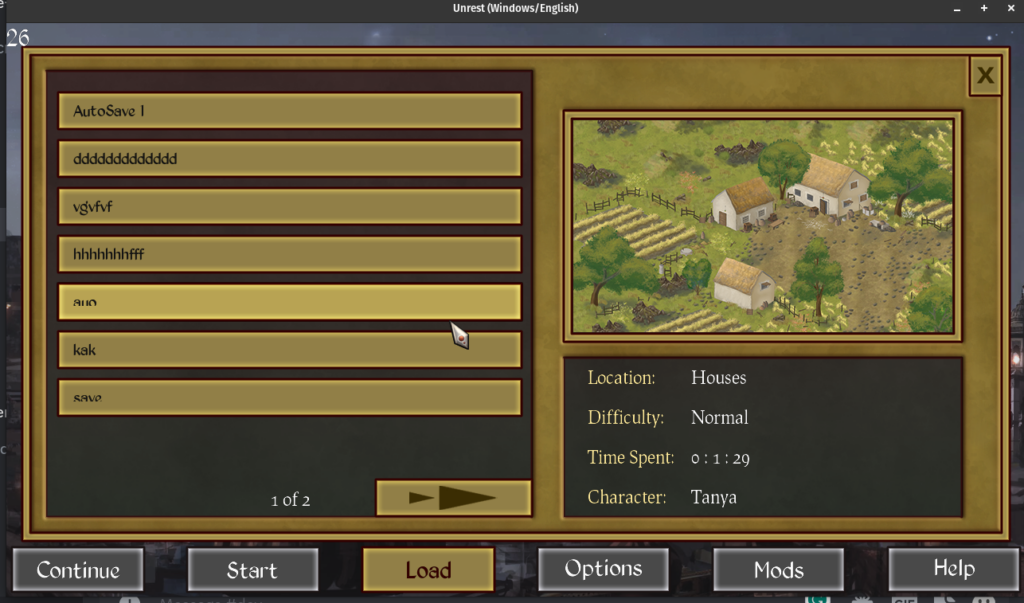
- PR #4753: Made text selectable in the input boxes.
- PR #4766: Implement MKV decoding.
- PR #4801: Added ProjectorArchive for the Director Engine.
- PR #5229: Integrate CRAB engine into ScummVM. This was the main PR for this project.
What work is left?
The following list of things need to be improved or are missing:
- Filenames are inconsistent.
- Unimplemented “fade-in” effect of music.
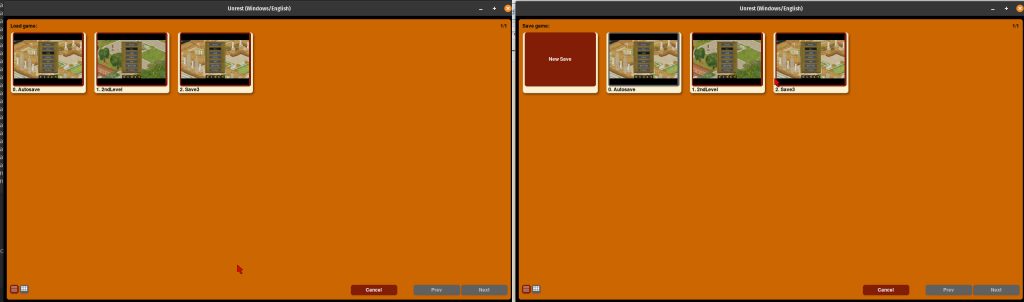
- Saving/Loading is only available through GMM load/save menus.
- “Options” menu selectable from the main menu is broken.
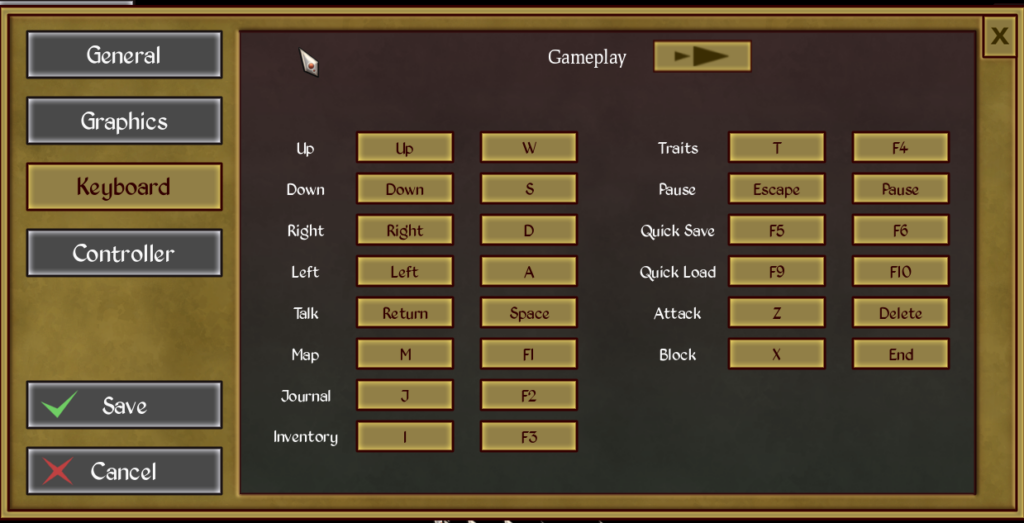
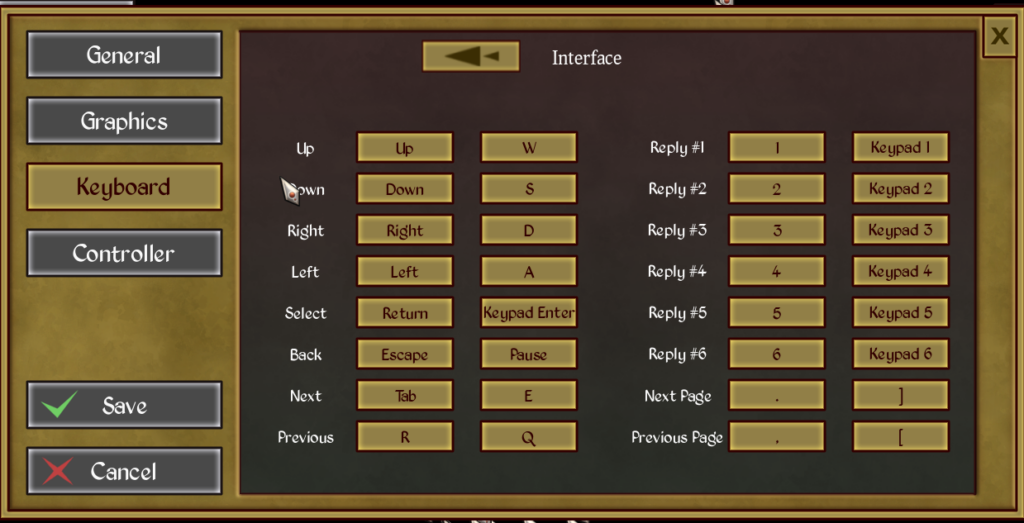
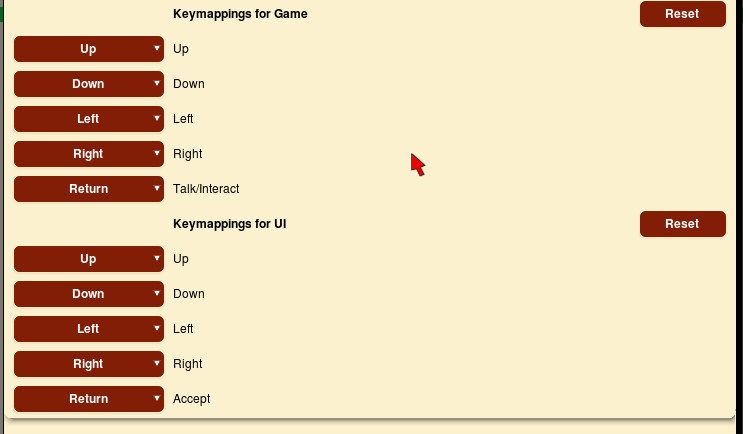
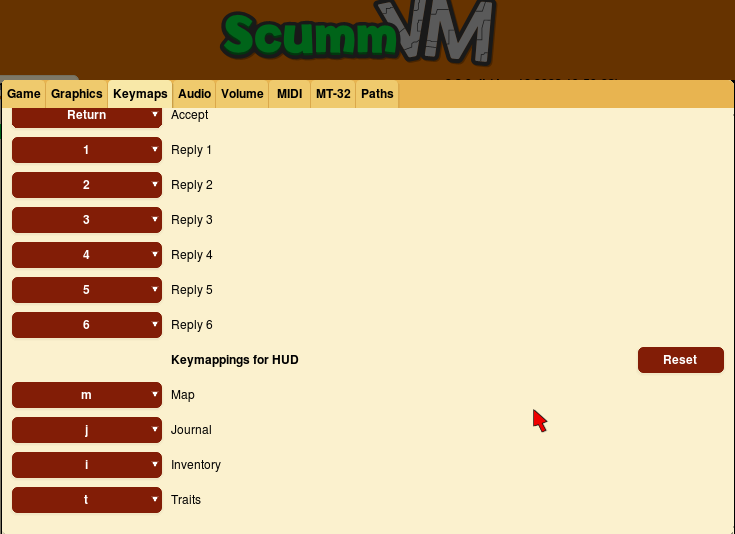
- Keymapper needs improvement to make the game fully playable using only a keyboard.
- Unimplemented “ironman” saves.
Conclusion
My time as a GSoC student has been fantastic. In the last three months, I have learned a lot from my mentors and the community. I want to note that the ScummVM community particularly has been very welcoming and helpful to me.
I would like to extend a special thanks to my mentors, Eugene Sandulenko(sev) and Strangerke who answered a lot of my questions and provided continuous feedback on the changes I was making. Their expertise helped me complete the project successfully.
Oh, and, I was given the offer to join the ScummVM team, which I have accepted 🙂 I hope to continue working on the CRAB engine and help maintain other engines in the time to come.
Thanks for reading!