Hello everyone!
There will be more pictures to show my progress this time. 😉
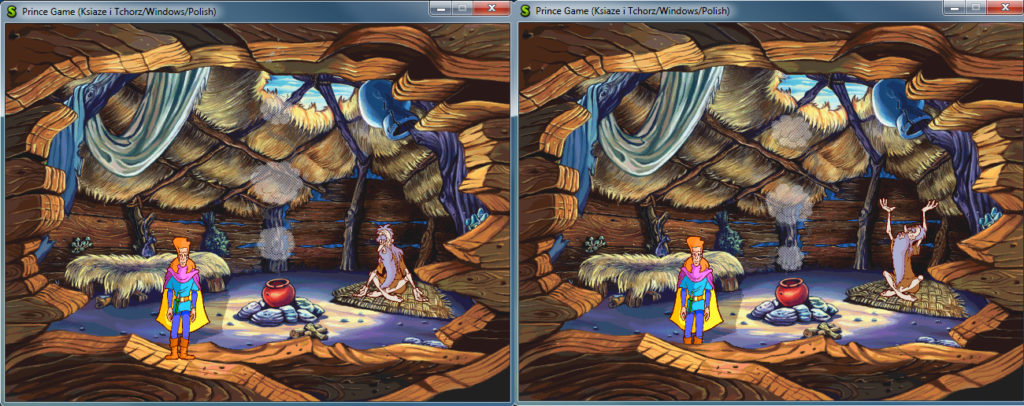
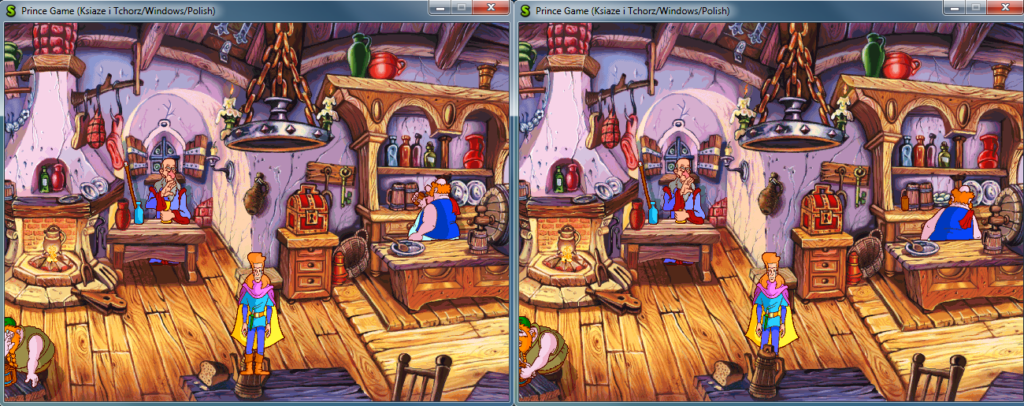
I was working harder at the weekend and was able to implement loading and displaying sprites that use parallax effect.
In simple words, in Prince these are bitmaps displaying as last, on top of everything else and scrolls faster then other animations while hero is moving in wider locations. It gives a feeling that this kind of objects are closest to the screen.
You can see them by finding differences in pictures below:
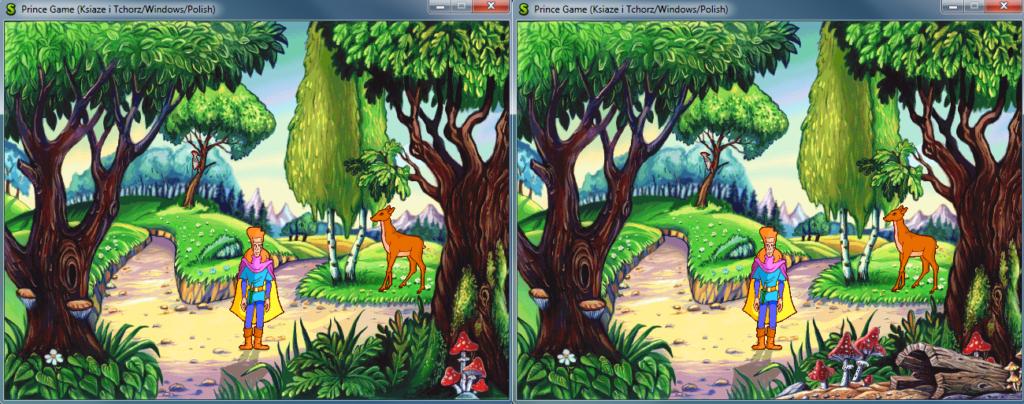
Before (left) / After (right)
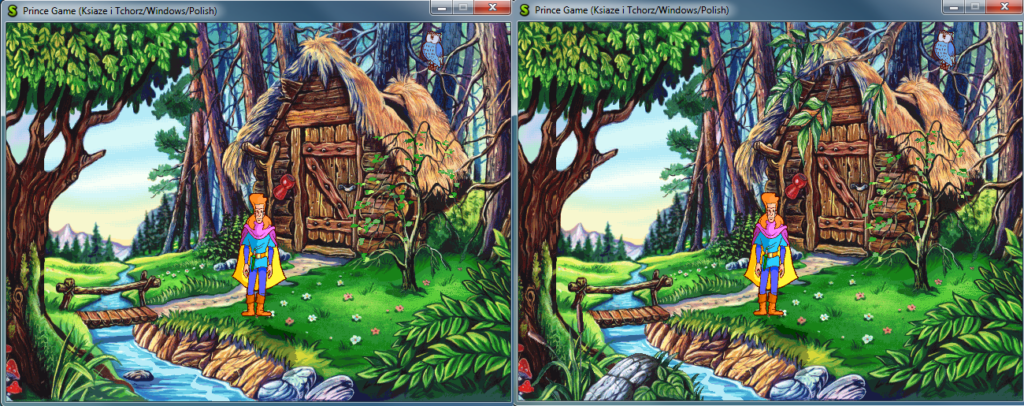
Before (left) / After (right)
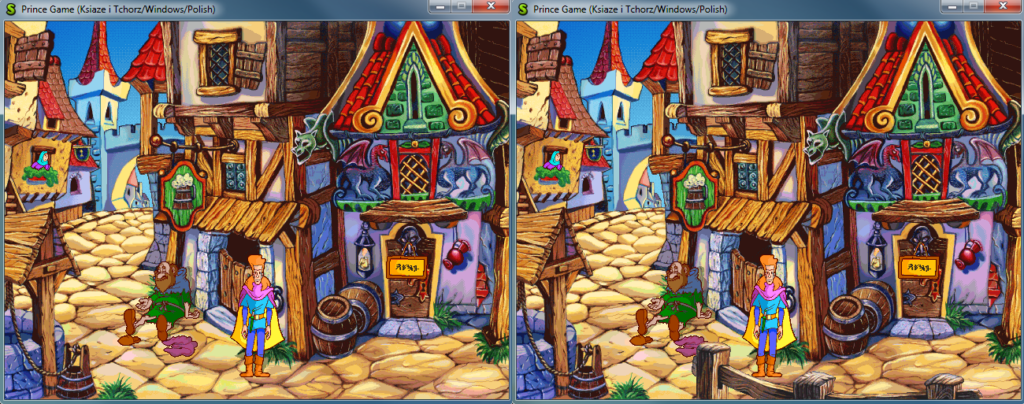
Before (left) / After (right)
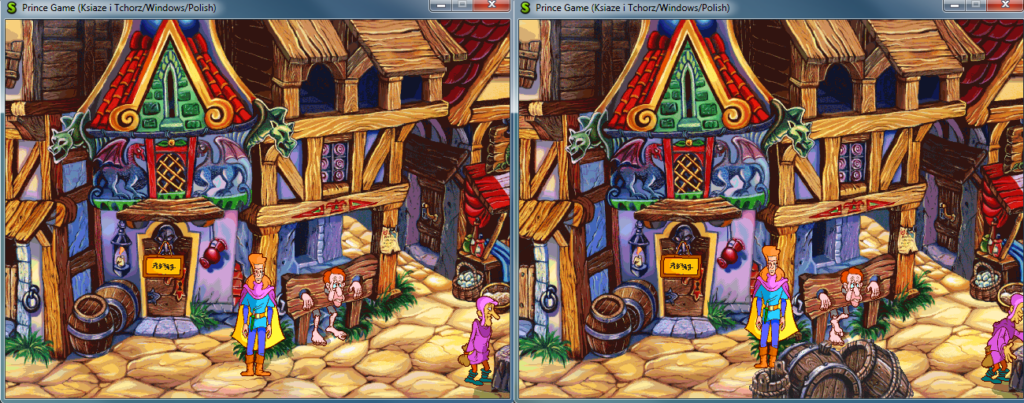
Before (left) / After (right)
Next part I manage to code was masking sprites by parts of background.
Information about masking is loading for each location. Mask doesn’t contain graphics data, just info about position and which pixels of background should be redrawn on top.
I recorded short video with mask debugging.
Before (left) / After (right)
Before (left) / After (right)
(Source: https://www.youtube.com/watch?v=6bhaI_PDOdI)
It shows working algorithm of turning on and off proper masks. It depends on position of hero, background animations and objects, etc.
Last part that I code required some thinking before actual doing it. It was a problem of drawing everything I already had (sprites of hero, background animations, masks, parallax sprites, objects) on background in proper sequence of Z axis coordinate.
I decided to create structure similar to this one from original asm code – DrawNode. It contains all information about drawing element (e.g. position, width and height of sprite, pointer to sprite) and also pointer to function that will draw it later.
Each function of drawing add new DrawNode to an array. After creating whole array I’m sorting all of them by Z coordinate and then draw them. You can see working algorithm on pictures below and also on short video here.
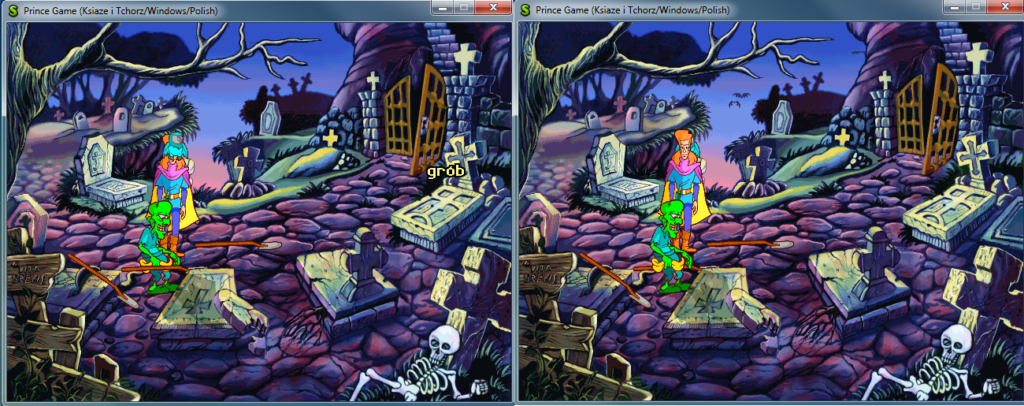
Before (left) / After (right)
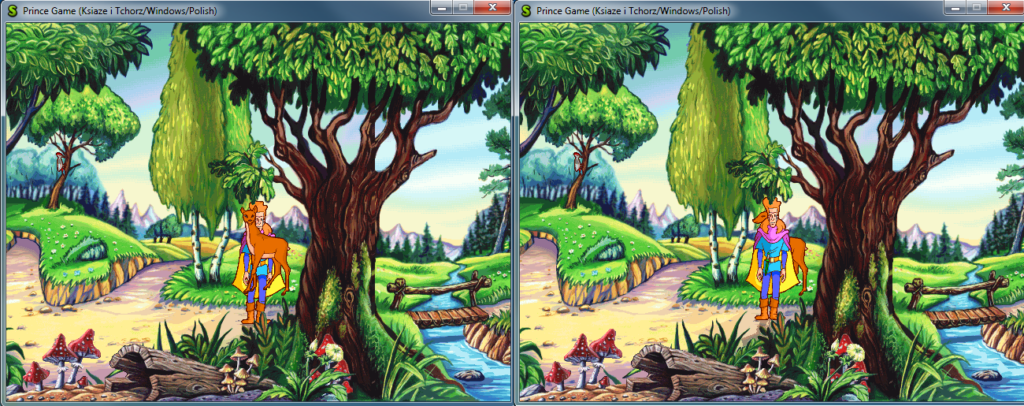
Before (left) / After (right)
(Source: https://www.youtube.com/watch?v=jdwqNOwqG1s)
Next things I’ll try to implement will be probably inventory drawing functions or dialog / choice frames. I’m trying to get familiar with these parts of code now.
See you next time!