TinyGL and 2D rendering.

My task for the next two weeks is going to be an implementation of a standard way of rendering 2D sprites with TinyGL.

At the moment, whenever a residual game engine needs to render a 2D sprites, different techniques are employed; Grim Fandango’s engine supports RLE sprites and has a faster code path for 2D binary transparency whilst Myst3’s engine only supports basic 2D rendering.
Moreover, features like sprite tinting, rotation and scaling are not easily implemented when using software rendering as they would require an explicit code path (which is, currently, unavailable).

Having said that in the next two weeks I will work on a standard implementation that will allow any engine that uses tinyGL to render 2D sprites with the following features:

  • Alpha/Additive/Subtractive Blending
  • Fast Binary Transparency
  • Sprite Tinting
  • Rotation
  • Scaling

This implementation will try to follow the same procedure adopted when rendering 2D objects with APIs such as DirectX or OpenGL (since all the current engines use openGL for HW accelerated rendering this seems a rather valid choice to make those two code paths more similar).

As such 2D rendering will require two steps: texture loading and texture rendering.

Texture loading will be needed also to implement features such as RLE faster rendering and to optimize and convert any format to 32 bit – ARGB (allowing to support a broad range of formats externally). Texture rendering will be exposed through a series of functions that allow the renderer to choose the fastest path available for the features requested (ie. if scaling or tinting is not needed then tinyGL will just skip those checks within the rendering code).

That’s it for a general overview of what I will be working on next, stay tuned for updates!
Alpha Blending and Myst 3 Renderer

In the past week I’ve been working on two tasks: implementation of glBlendFunc (and thus alpha blending) and Myst 3 tinyGL software renderer.

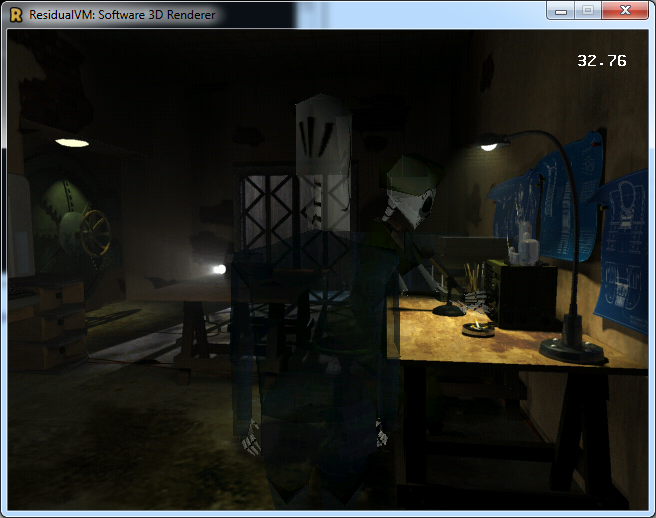
After the refactoring of frame buffer code implementing alpha blending was rather easy: every write access to the screen is encapsulated through a function that checks if we enabled blending and what kind of blending is currently active in the internal state machine and performs the operation accordingly.
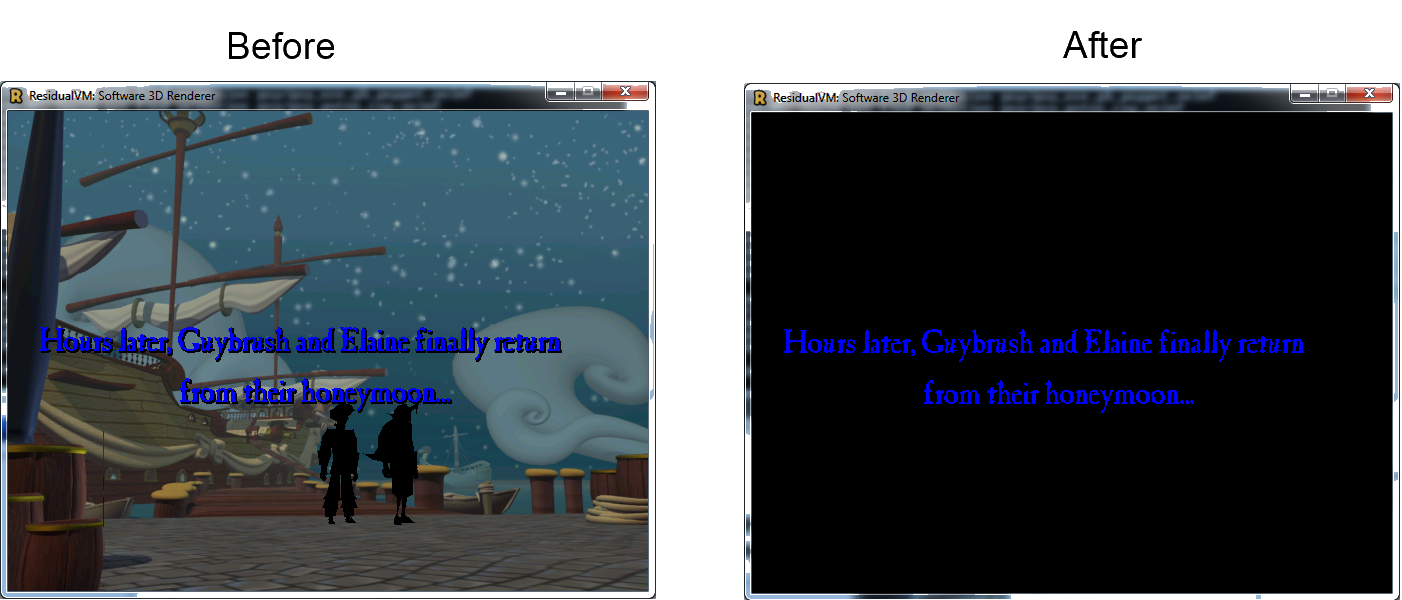
In order to test the function I forced all the models in Grim Fandango to be 50% transparent and here’s the result:

Surprisingly for me, the implementation of pixel blending in the rendering pipeline did not hurt performance by a substancial amount as the renderer runs just about 8-12% slower than before.

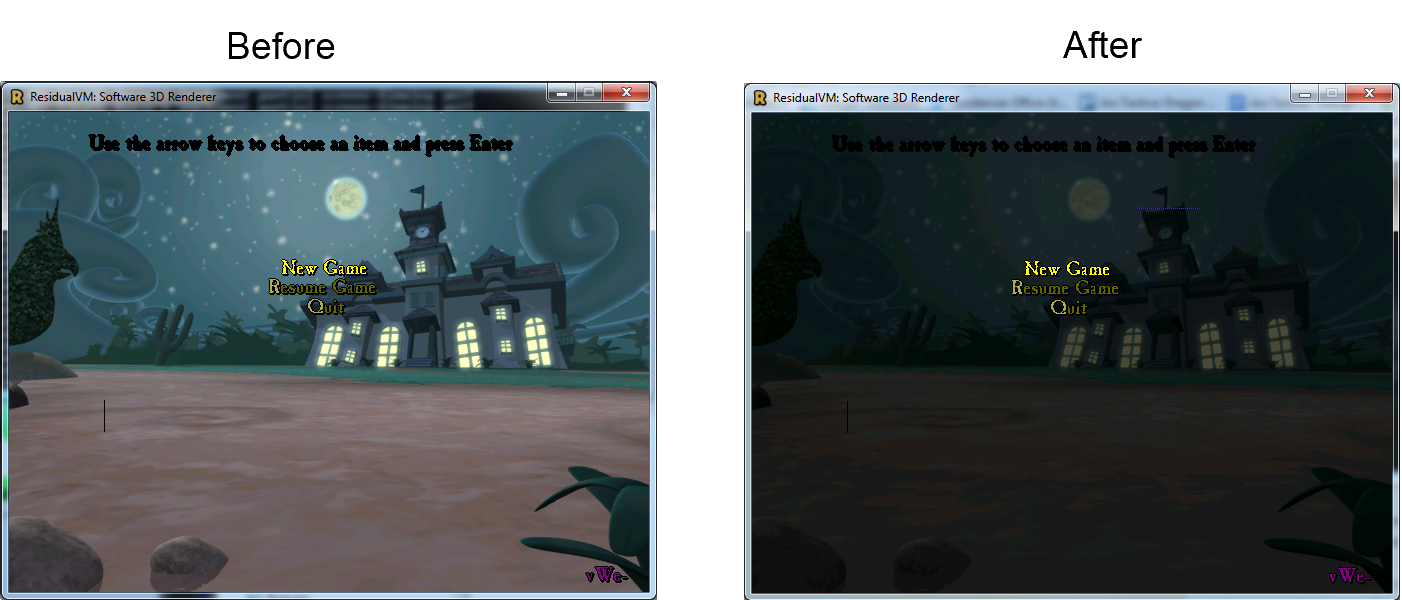
Thanks to the implementation of alpha blending now EMI is rendered correctly, so here’s some screenshot to show the difference:

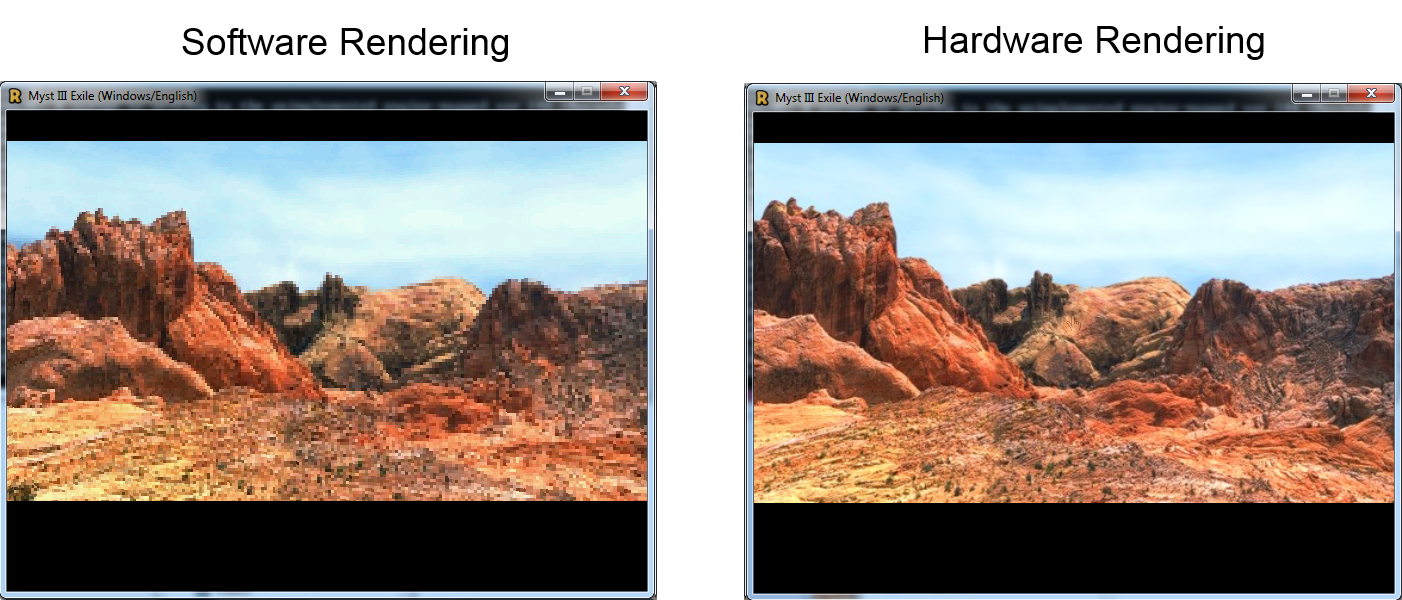
I also had to work on the implementation of Myst 3 software renderer; the process of implementing it went quite smoothly even though I stumbled upon some limitations of TinyGL (mainly the lack of support to texture bigger than 256×256) that will be hopefully lifted soon.

I leave you with a screenshot comparation of the two versions here so that you can clearly see the difference:

And that’s pretty much it for this week, my next tasks will be to implement some sort of extension to TinyGL to enable 2D blitting and then an internal dirty rect implementation inside TinyGL to avoid redrawing static portions of the screen.

Refactoring and performance pitfalls

As I spent this last week profiling and trying to figure out why the C++ version turned out to be slower than the C one I am going to share some tips and hints that one should follow when refactoring in order to keep a decent level of performance.

Avoid implementing copy constructors if you don’t need to

When I was implementing classes such as Vector3 and Matrix4 I implemented my own copy constructor and assignment operator by using memcpy, it turned out that my own version was slower than what the compiler could have generated on its own, so if you don’t have any particular need then just avoid implementing it (you’ll also have less code to maintain!)

Never assume that return value optimization will be employed

This goes along with function inlining, you should never assume that RVO will be employed by the compiler when you are implementing functions. When I replaced function that modified a reference of an object instead of the classic assignment I got a huge increase in performance so consider this if you’re noticing some suspicious performance problems after a refactoring.

Be careful about function inlining

Even if you put the code in the header file and use the keyword “inline”, you’re just giving the compiler an hint but you have no guarantees that the code will actually be inlined. Sometimes it’s easy to think that an inline function that performs some simple operation and returns a new value might be inlined (and you might also think that the compiler will use RVO to remove the unnecessary temporary object) but more than often the compiler will ignore you and generate more overhead than you’d have expected in the first place.
And that’s all for this week!
One more advice I would give is to use compare performance reports if you’re using visual studio profiler as it will help you a lot in finding out exactly which function is slower than before and by how much.

Refactoring part 2

As planned, I am still working on refactoring the maths code as I’ve encountered some problems on the road.

The renderer is now working but there are some minor lighting issues that I am trying to address, however the code is now much cleaner and more readable than before and to show you this I am going to paste some snippets of before and after refactoring scenarios:

Before refactoring –

float *m;
V4 *n;
 
if (c->lighting_enabled) {
 // eye coordinates needed for lighting
 
 m = &c->matrix_stack_ptr[0]->m[0][0];
 v->ec.X = (v->coord.X * m[0] + v->coord.Y * m[1] +
    v->coord.Z * m[2] + m[3]);
 v->ec.Y = (v->coord.X * m[4] + v->coord.Y * m[5] +
    v->coord.Z * m[6] + m[7]);
 v->ec.Z = (v->coord.X * m[8] + v->coord.Y * m[9] +
    v->coord.Z * m[10] + m[11]);
 v->ec.W = (v->coord.X * m[12] + v->coord.Y * m[13] +
    v->coord.Z * m[14] + m[15]);
 
 // projection coordinates
 m = &c->matrix_stack_ptr[1]->m[0][0];
 v->pc.X = (v->ec.X * m[0] + v->ec.Y * m[1] + v->ec.Z * m[2] + v->ec.W * m[3]);
 v->pc.Y = (v->ec.X * m[4] + v->ec.Y * m[5] + v->ec.Z * m[6] + v->ec.W * m[7]);
 v->pc.Z = (v->ec.X * m[8] + v->ec.Y * m[9] + v->ec.Z * m[10] + v->ec.W * m[11]);
 v->pc.W = (v->ec.X * m[12] + v->ec.Y * m[13] + v->ec.Z * m[14] + v->ec.W * m[15]);
 
 m = &c->matrix_model_view_inv.m[0][0];
 n = &c->current_normal;
 
 v->normal.X = (n->X * m[0] + n->Y * m[1] + n->Z * m[2]);
 v->normal.Y = (n->X * m[4] + n->Y * m[5] + n->Z * m[6]);
 v->normal.Z = (n->X * m[8] + n->Y * m[9] + n->Z * m[10]);
 
 if (c->normalize_enabled) {
  gl_V3_Norm(&v->normal);
 }
} else {
 // no eye coordinates needed, no normal
 // NOTE: W = 1 is assumed
 m = &c->matrix_model_projection.m[0][0];
 
 v->pc.X = (v->coord.X * m[0] + v->coord.Y * m[1] + v->coord.Z * m[2] + m[3]);
 v->pc.Y = (v->coord.X * m[4] + v->coord.Y * m[5] + v->coord.Z * m[6] + m[7]);
 v->pc.Z = (v->coord.X * m[8] + v->coord.Y * m[9] + v->coord.Z * m[10] + m[11]);
 if (c->matrix_model_projection_no_w_transform) {
  v->pc.W = m[15];
 } else {
  v->pc.W = (v->coord.X * m[12] + v->coord.Y * m[13] + v->coord.Z * m[14] + m[15]);
 }
}
 
v->clip_code = gl_clipcode(v->pc.X, v->pc.Y, v->pc.Z, v->pc.W);

After Refactoring –

Matrix4 *m;
Vector4 *n;
 
if (c->lighting_enabled) {
 // eye coordinates needed for lighting
 
 m = c->matrix_stack_ptr[0];
 v->ec = m->transform3x4(v->coord);
 
 // projection coordinates
 m = c->matrix_stack_ptr[1];
 v->pc = m->transform(v->ec);
 
 m = &c->matrix_model_view_inv;
 n = &c->current_normal;
 
 v->normal = m->transform3x3(n->toVector3());
 
 if (c->normalize_enabled) {
  v->normal.normalize();
 }
} else {
 // no eye coordinates needed, no normal
 // NOTE: W = 1 is assumed
 m = &c->matrix_model_projection;
 
 v->pc = m->transform3x4(v->coord);
 if (c->matrix_model_projection_no_w_transform) {
  v->pc.setW(m->get(3,3)); 
 }
}
 
v->clip_code = gl_clipcode(v->pc.getX(), v->pc.getY(), v->pc.getZ(), v->pc.getW());

As you can see the code is more readable and the operations performed are clearly stated.
While trying to fix some issues that arised during the refactoring I also stumbled upon the git command “stash”: this command lets you store the changes in your code in a place and then apply them afterwards, I used this system to keep my changes while I was switching betweeen branches to execute the old and new version of the code while fixing all the issues I found, so I highly reccommend to read more about it and learn how to use it!